What is Bash Script?
Bash Script is a plain text file that contains the commands used in a command line.
Creating a Bash Script
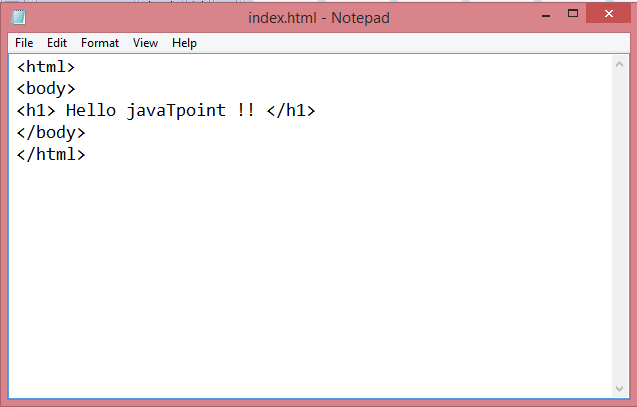
Step 1: Creating an HTML page.
- Create the web page in a Notepad and save it with .html extension.
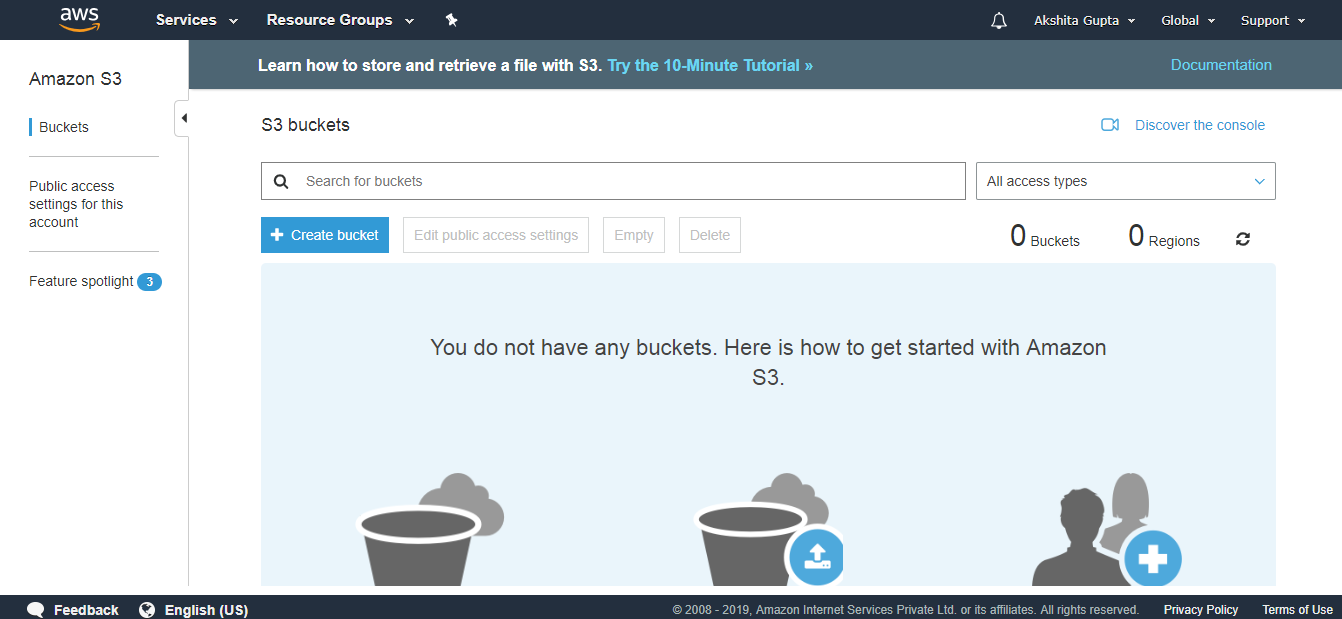
Step 2: Creating a bucket in S3.
- Move to the S3 service.
- Create a bucket in S3.
- Enter the bucket name.
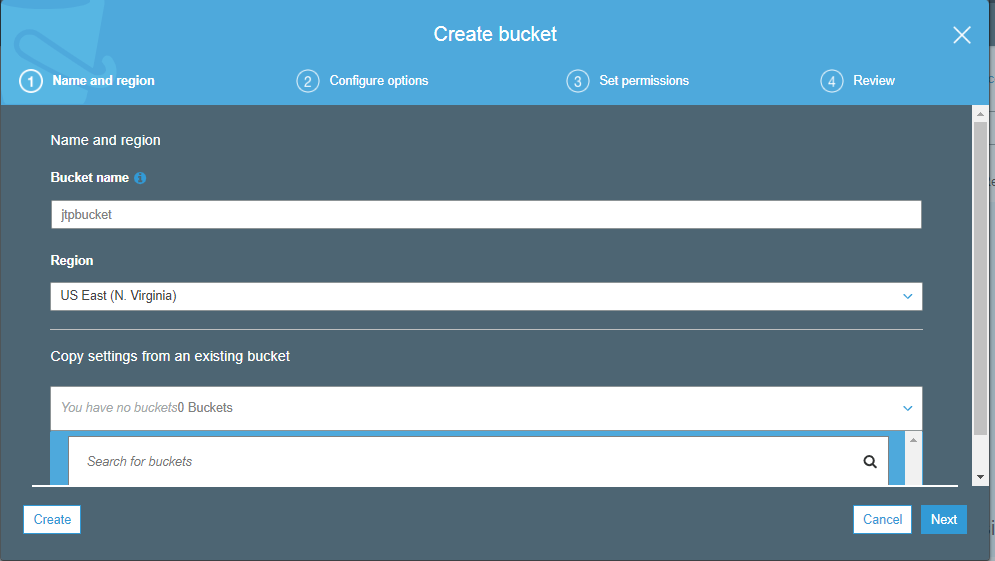
- Click on the Create button.
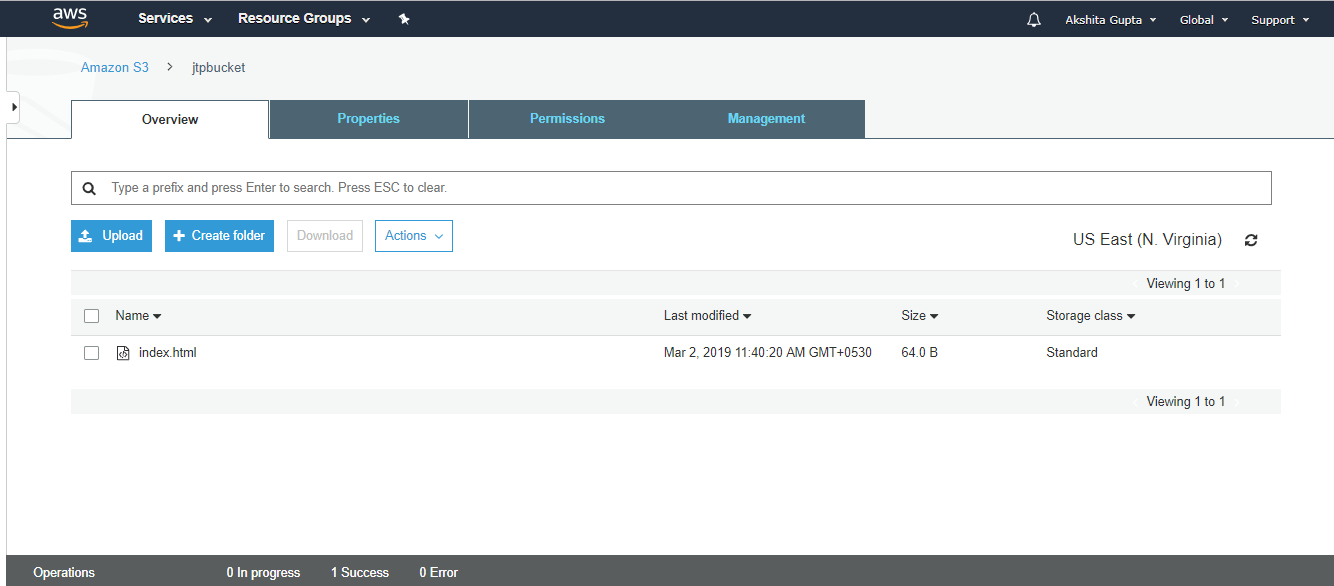
- Click on the jtpbucket that you created and upload the index.html file in S3.
- The below screen shows that index.html file has been successfully uploaded in S3.
Step 3: Creating an IAM Role.
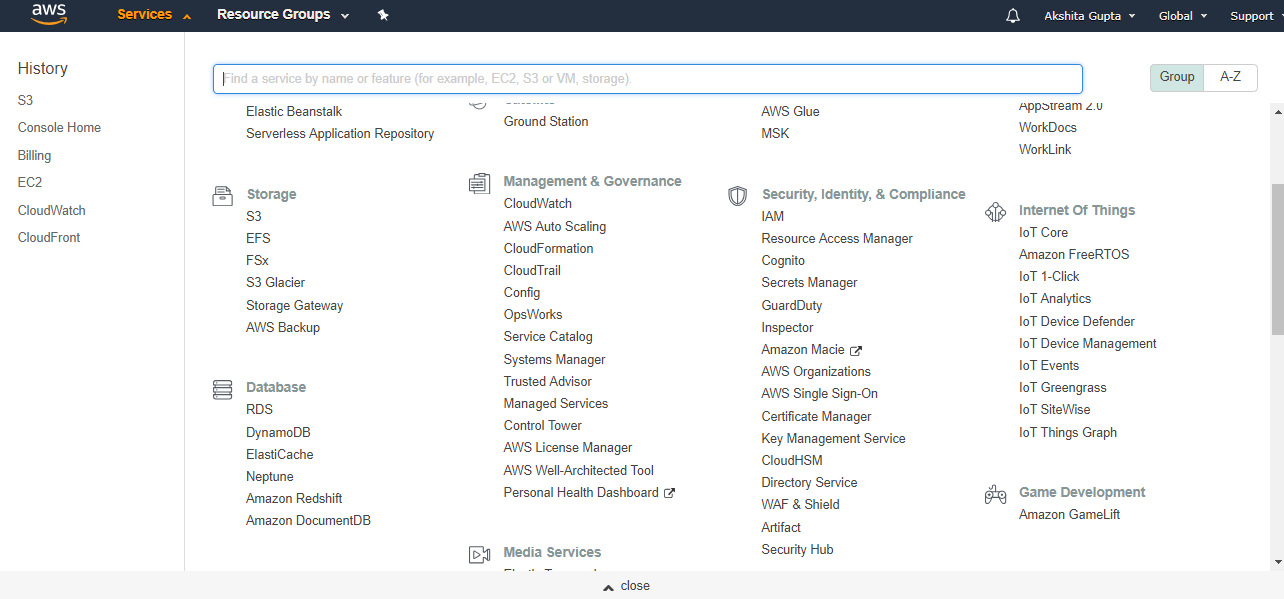
- Now, go to the main console and click on the IAM service.
- We create a new Role.
- Select EC2 service to access your AWS services on your behalf. Click on the Next.
- Select the AmazonS3FullAccess policy, this policy gets attached to our role.
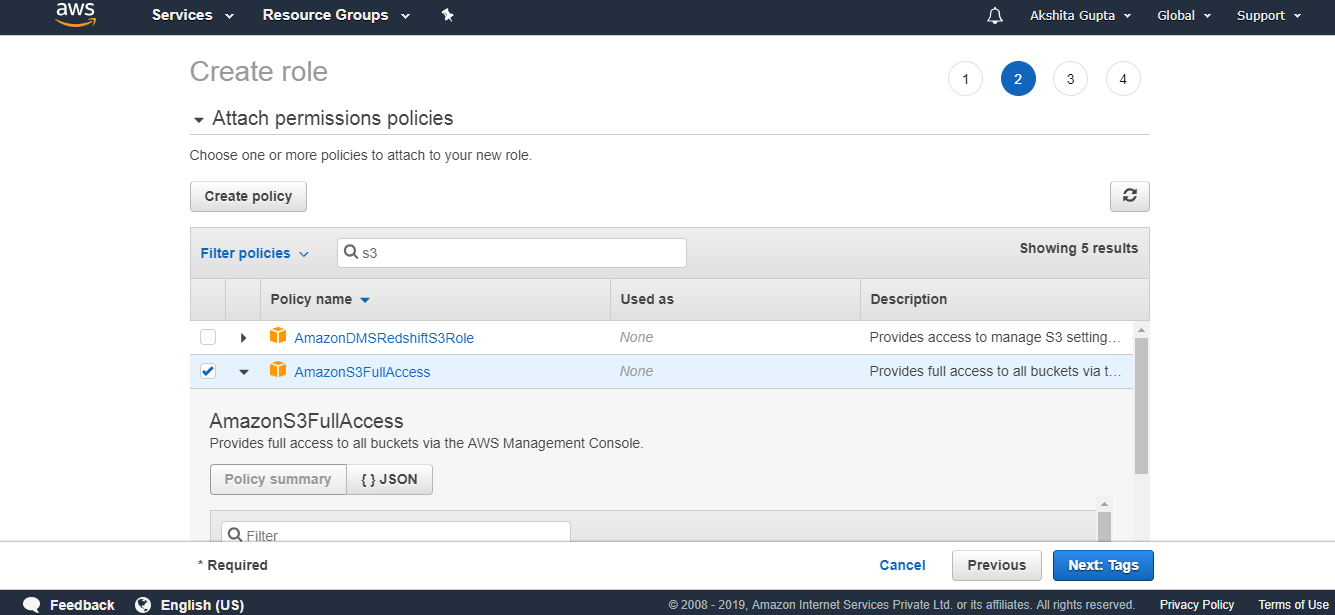
- Click on the Next.
- Enter the role details such as Role name.
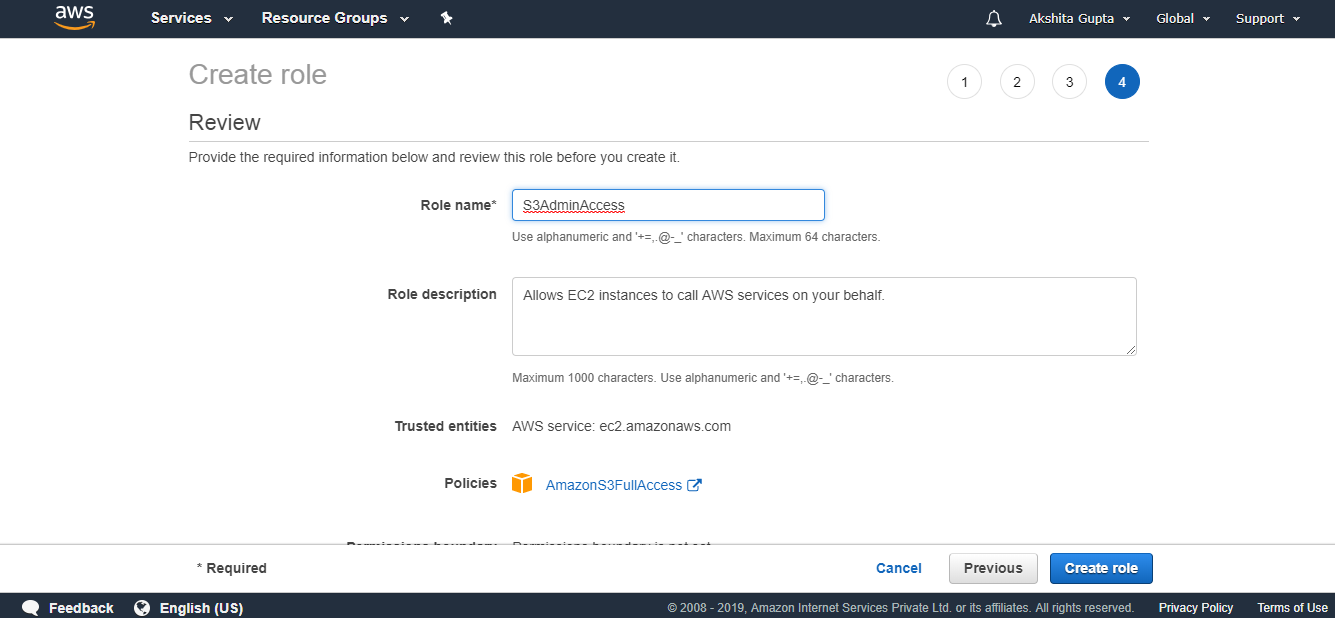
- Click on the create role.
- The below screen shows that the role has been created with the name S3AdmainAccess.
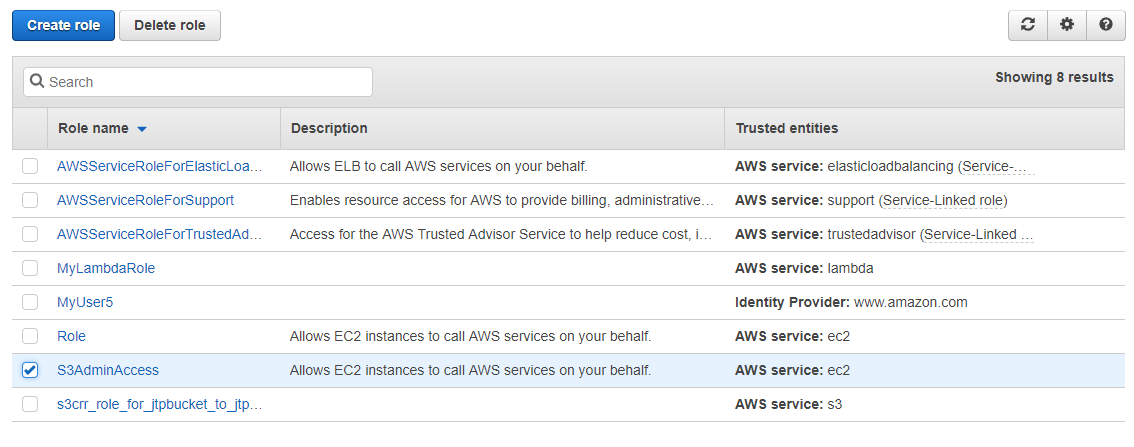
In the above screen, the role which has been checked is a newly created role.
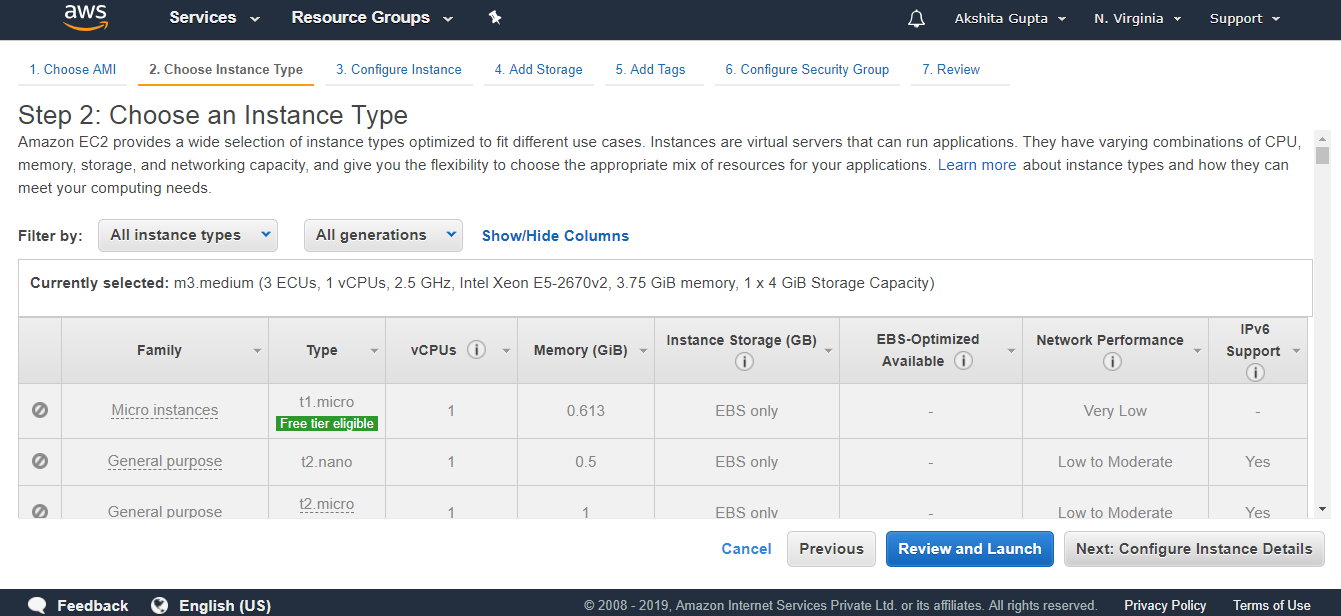
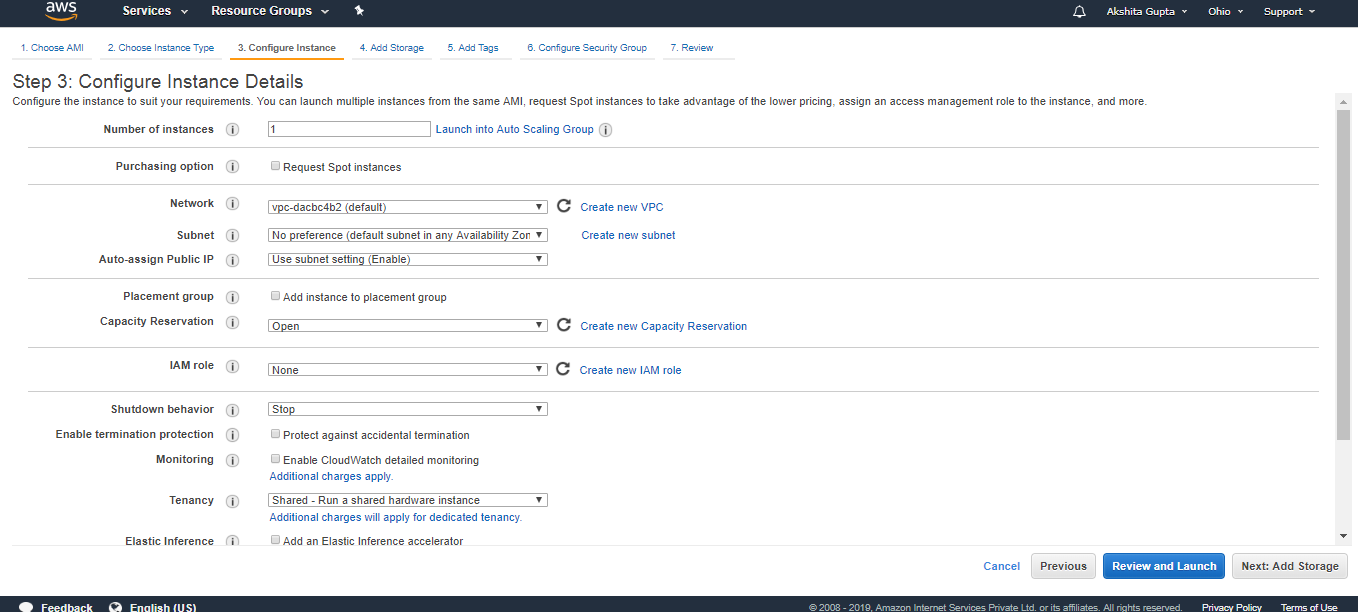
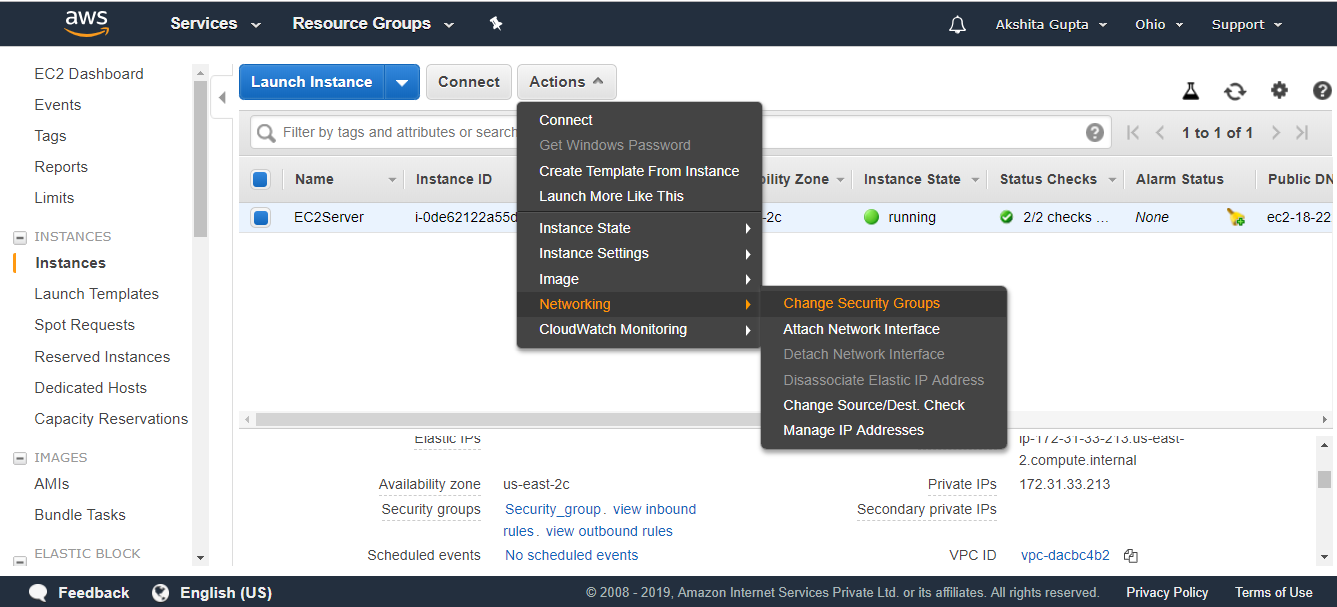
Step 4: Creating an EC2 instance
- Move to the main console and click on the EC2 service.
- Launch an Instance.
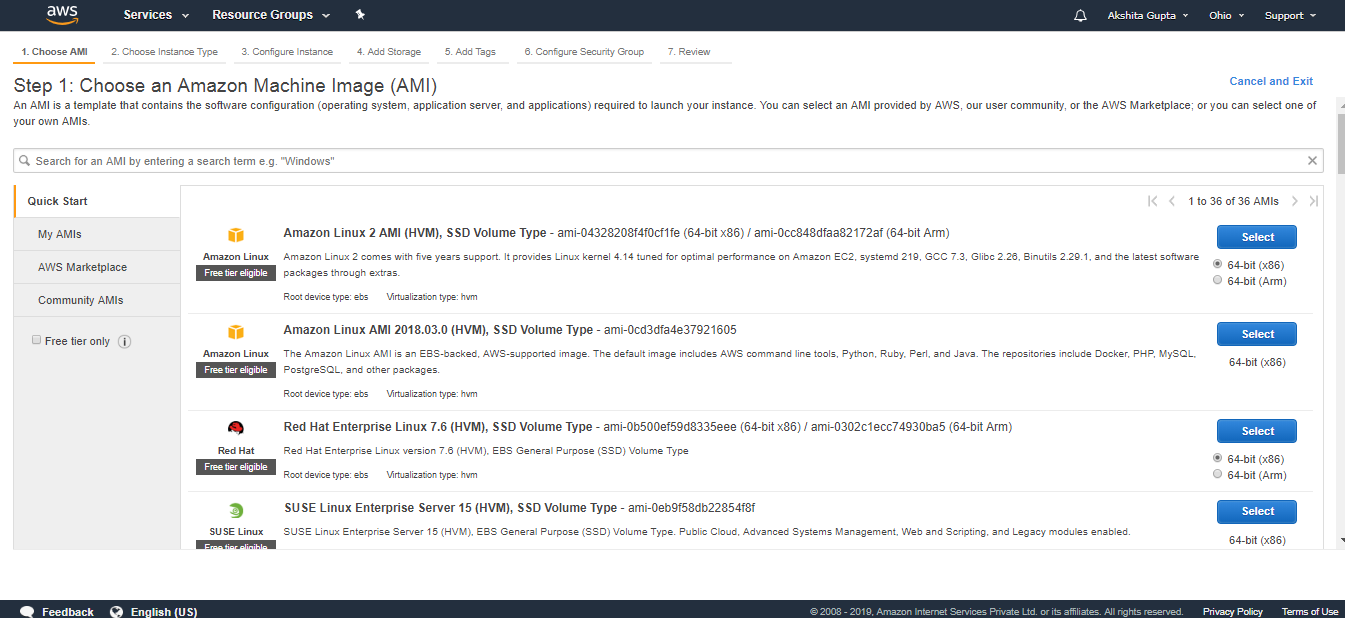
- Choose an Amazon Machine Image. I select the Amazon Linux AMI 2018.03.0 (HVM).
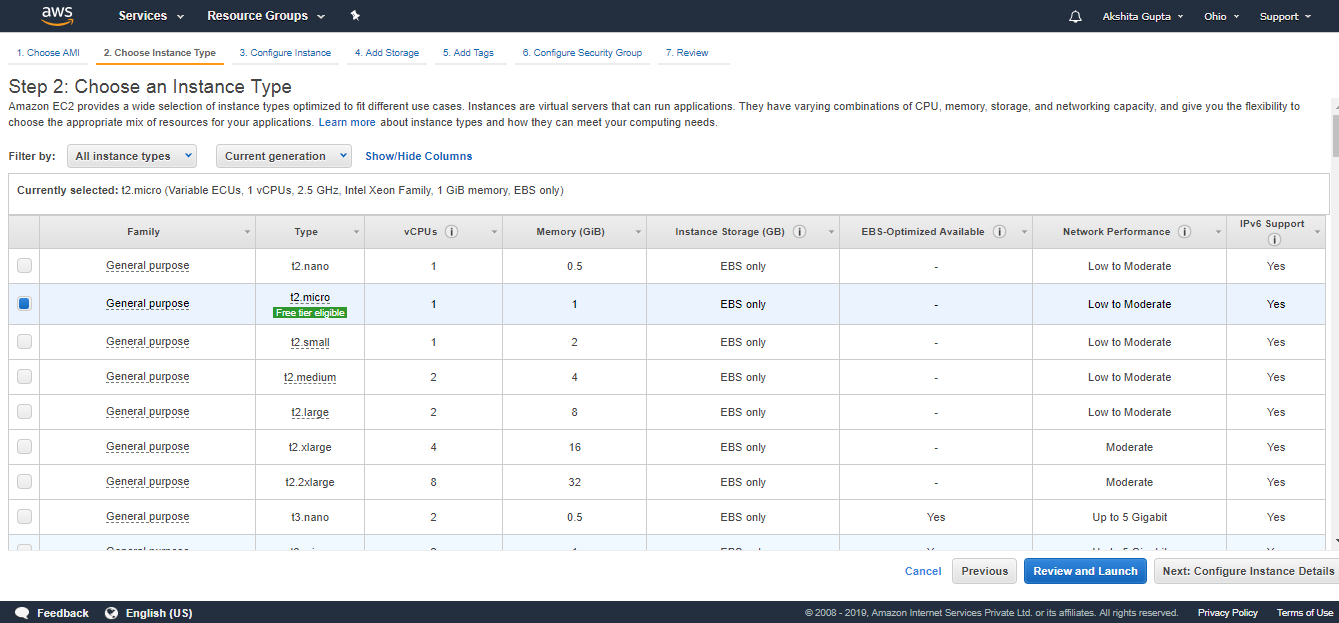
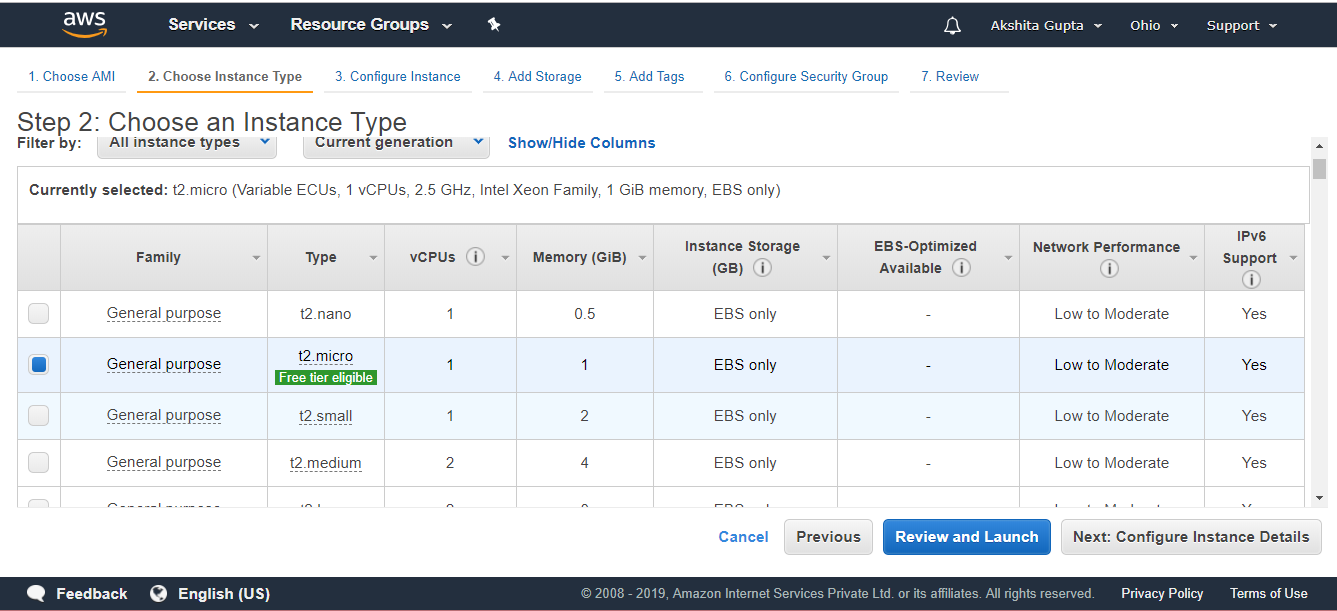
- Choose an Instance type. I choose a t2.micro type.
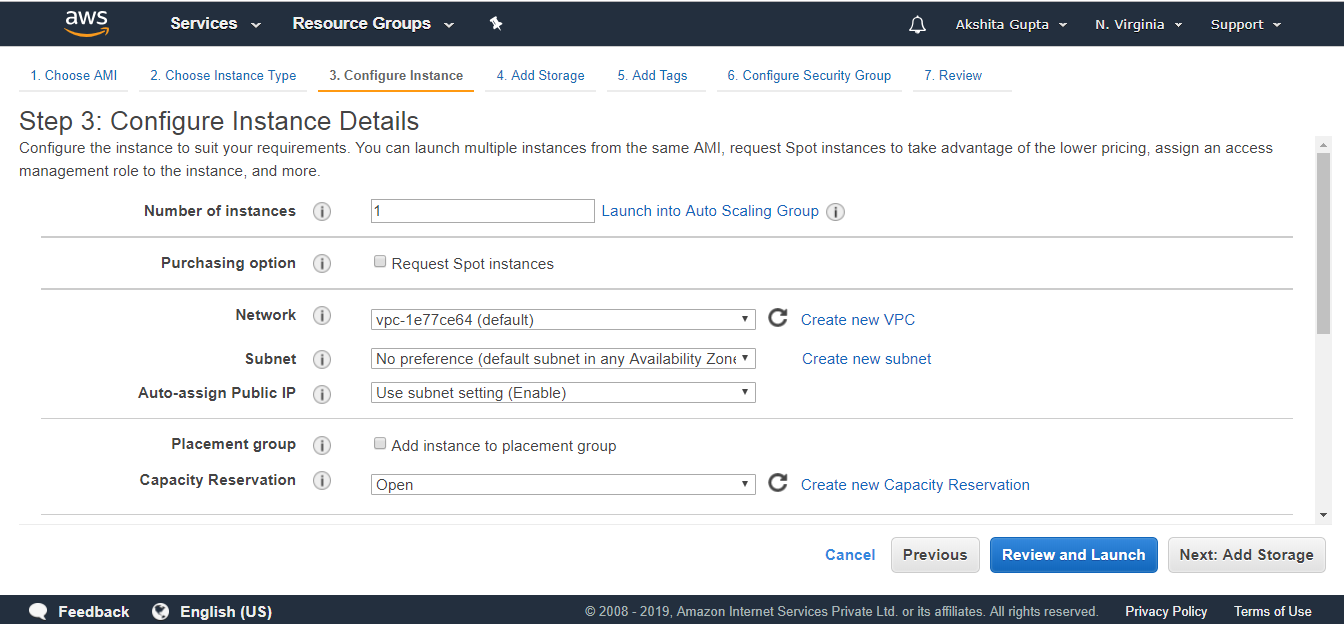
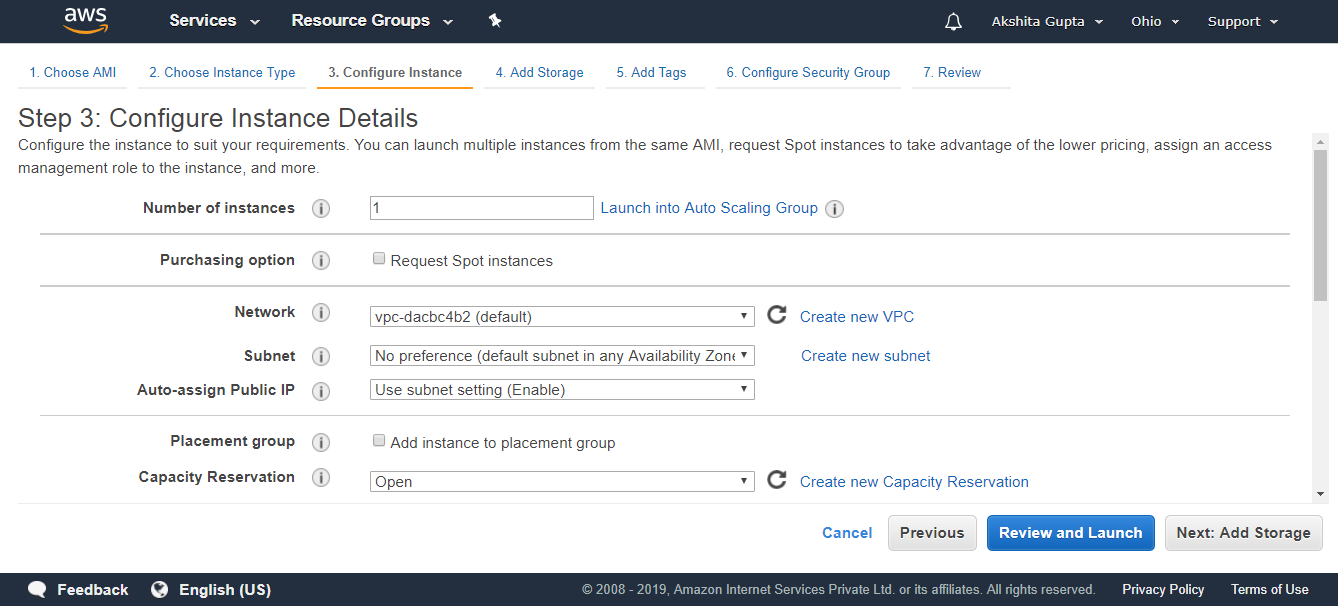
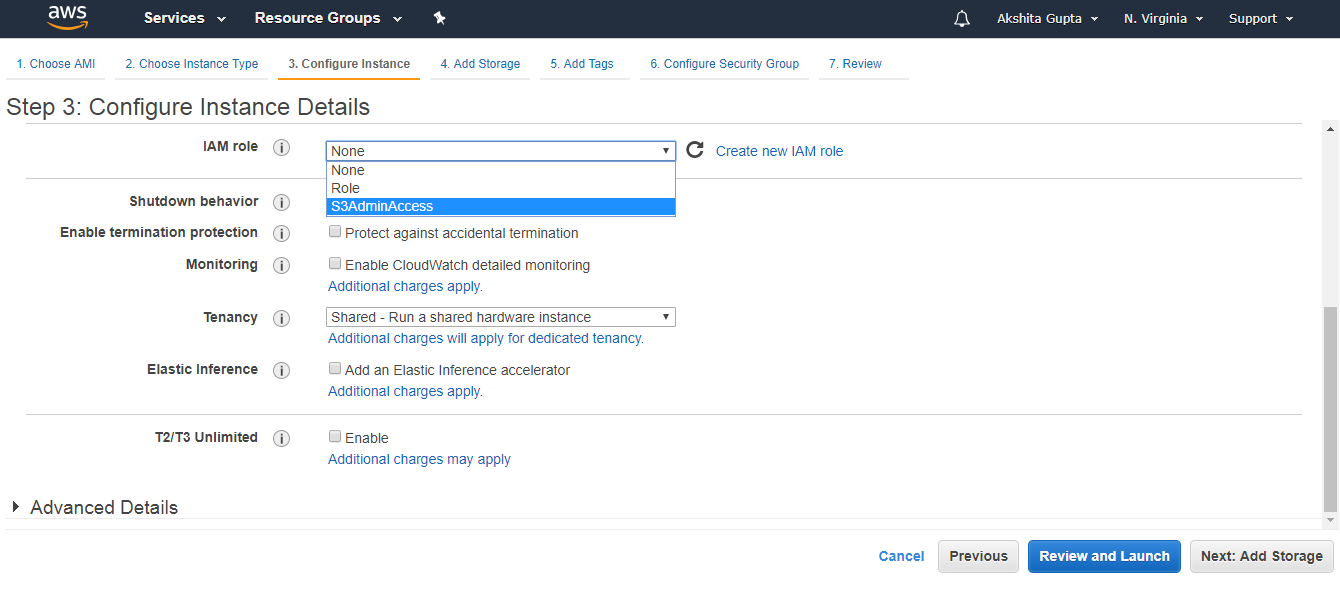
- Configure the Instance details. Select the IAM Role as S3AdminAccess and keep other settings as default.
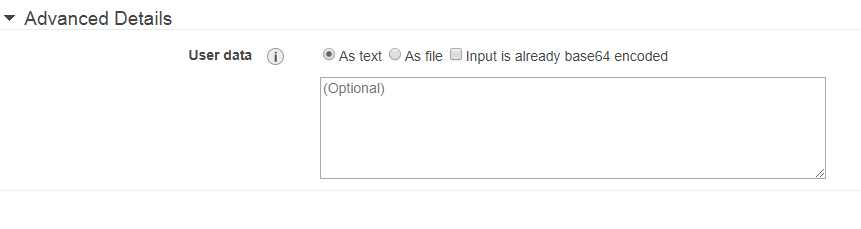
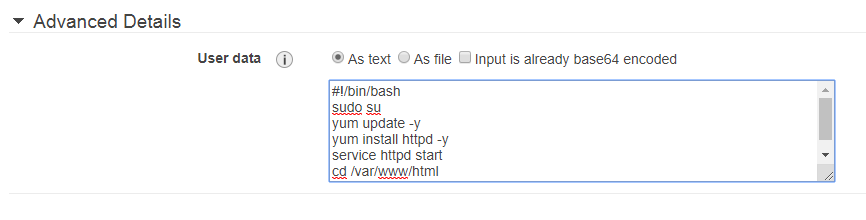
Bash scripts are added in an Advanced Details.https://2d4b53638f563afeafa88365d088b6c1.safeframe.googlesyndication.com/safeframe/1-0-37/html/container.html
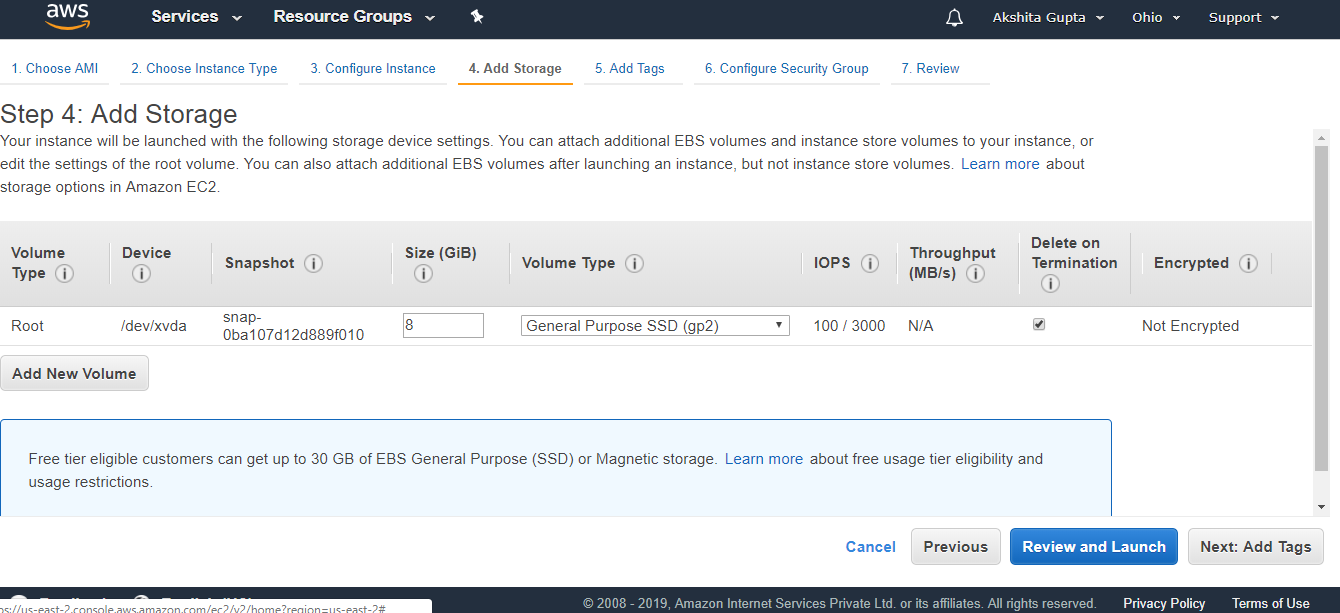
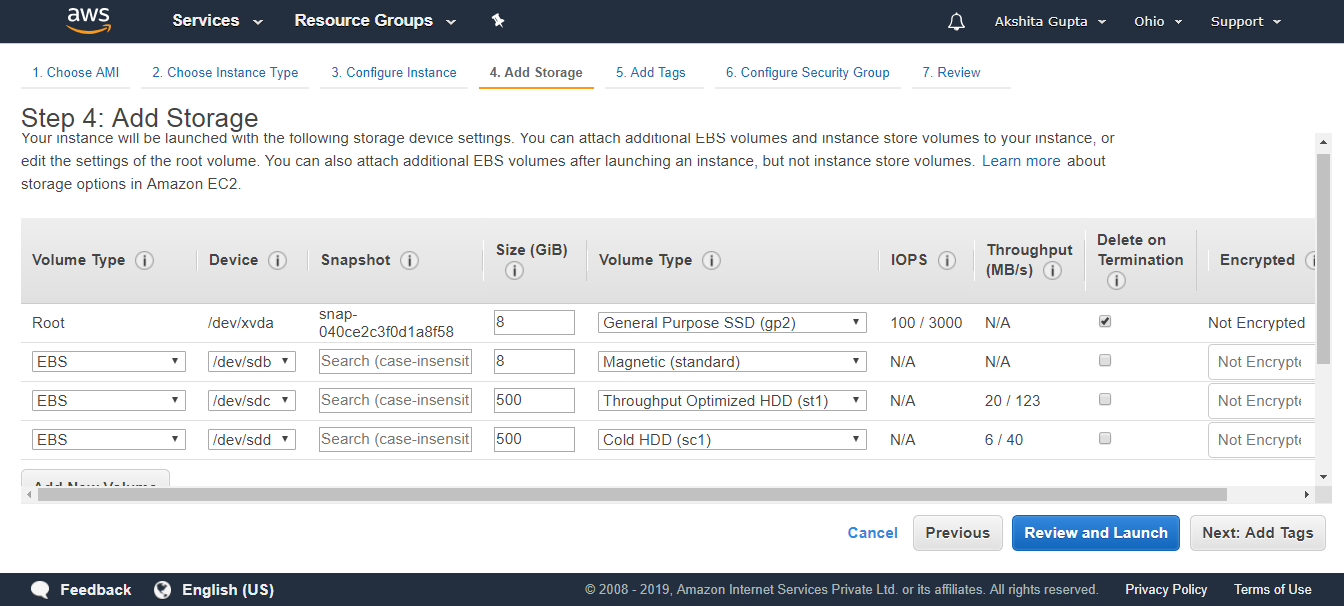
- Add Storage to your instance. Root is a default volume, and I am not adding new volume.
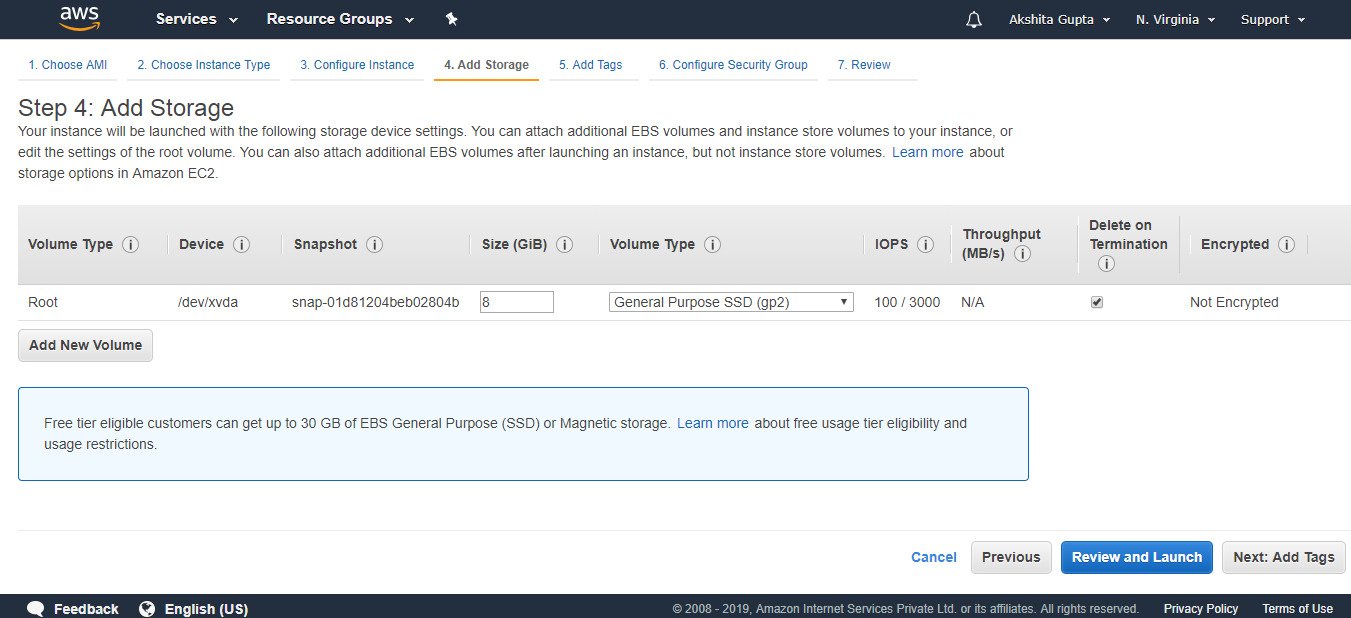
- Click on the Next.
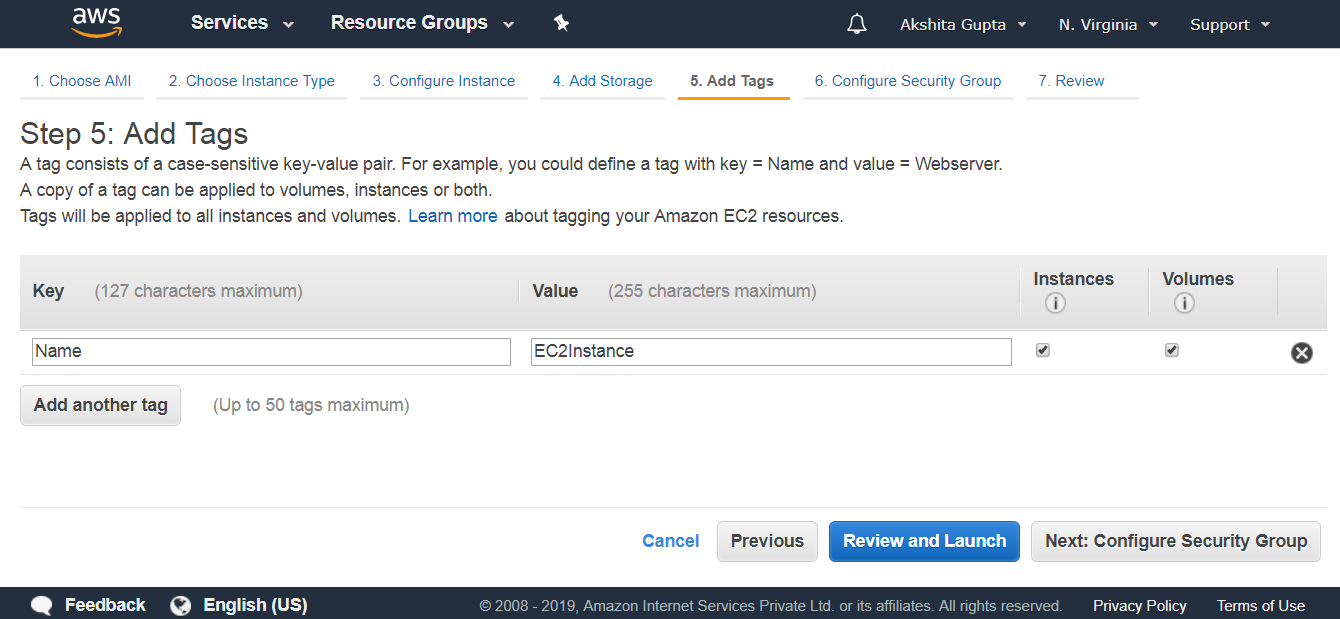
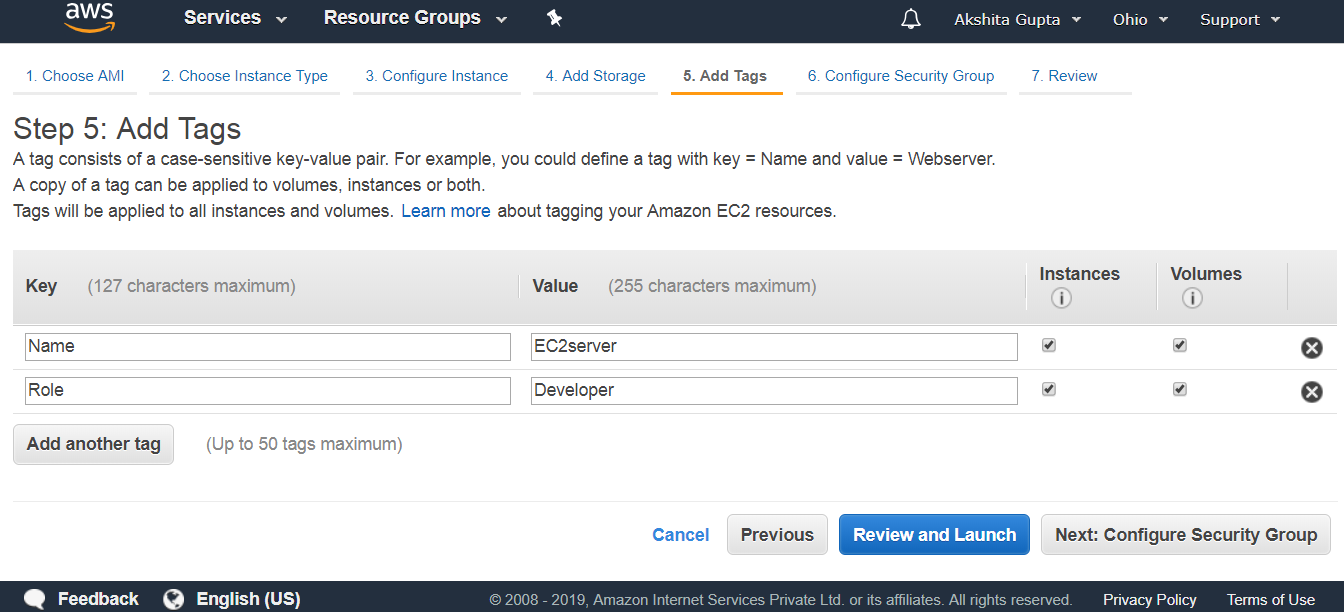
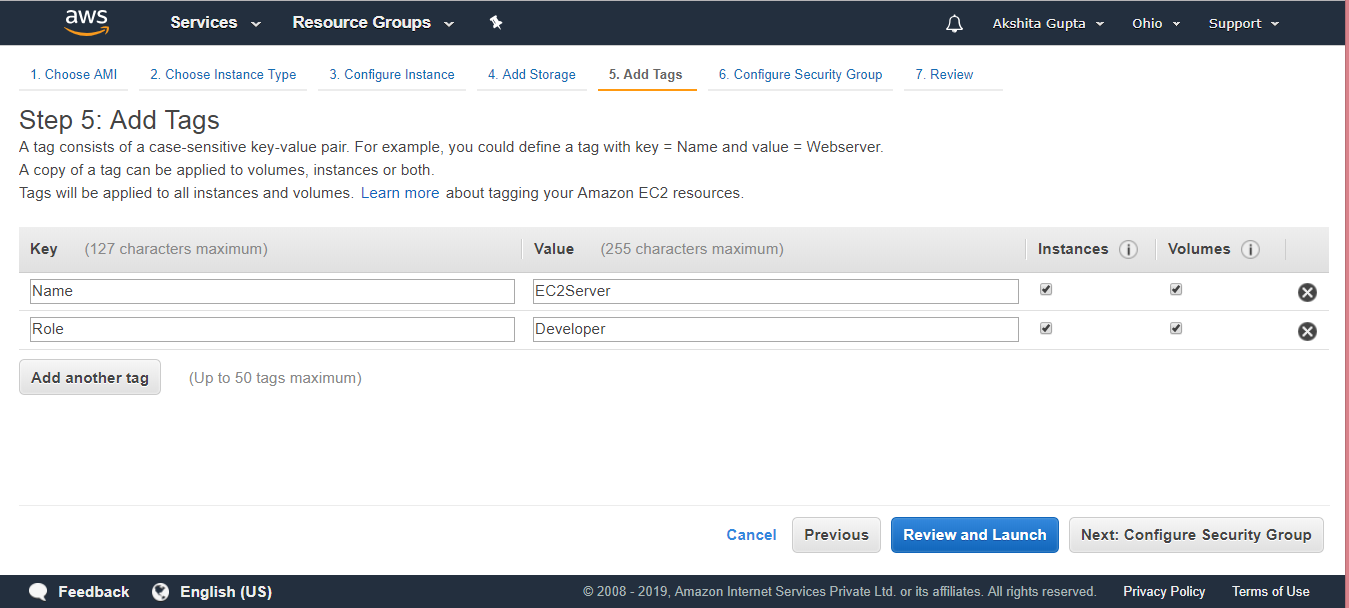
- Add a tag.

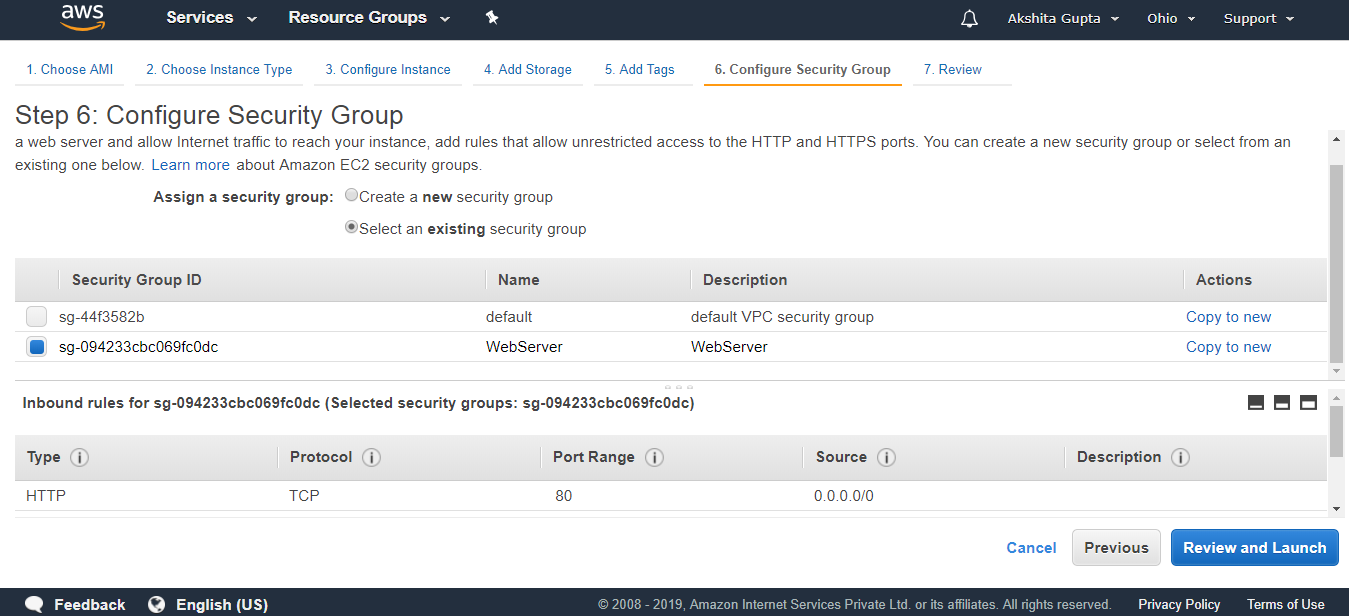
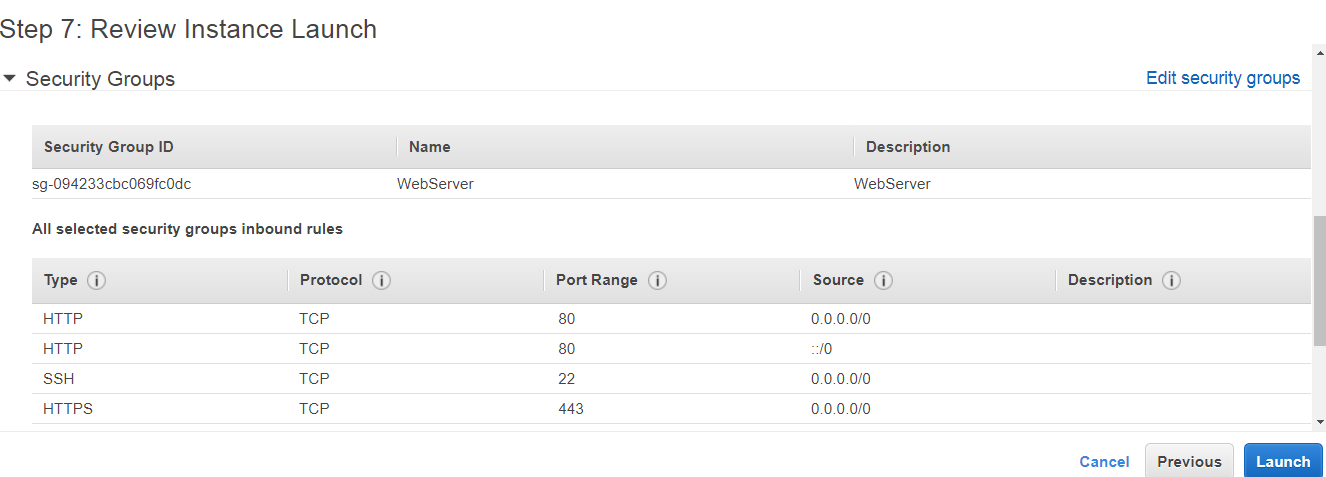
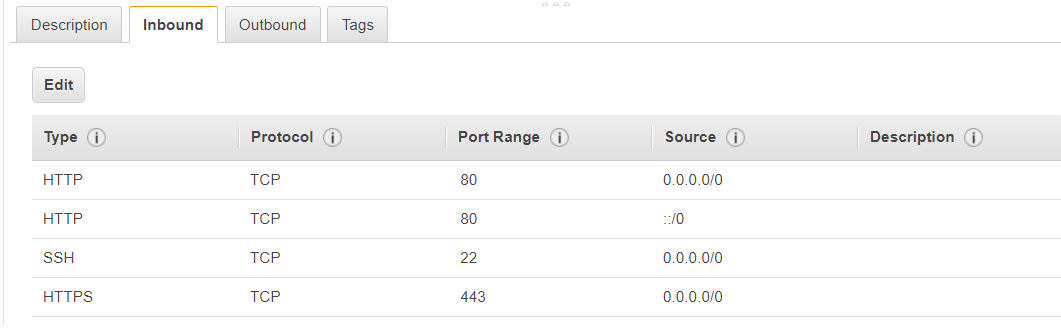
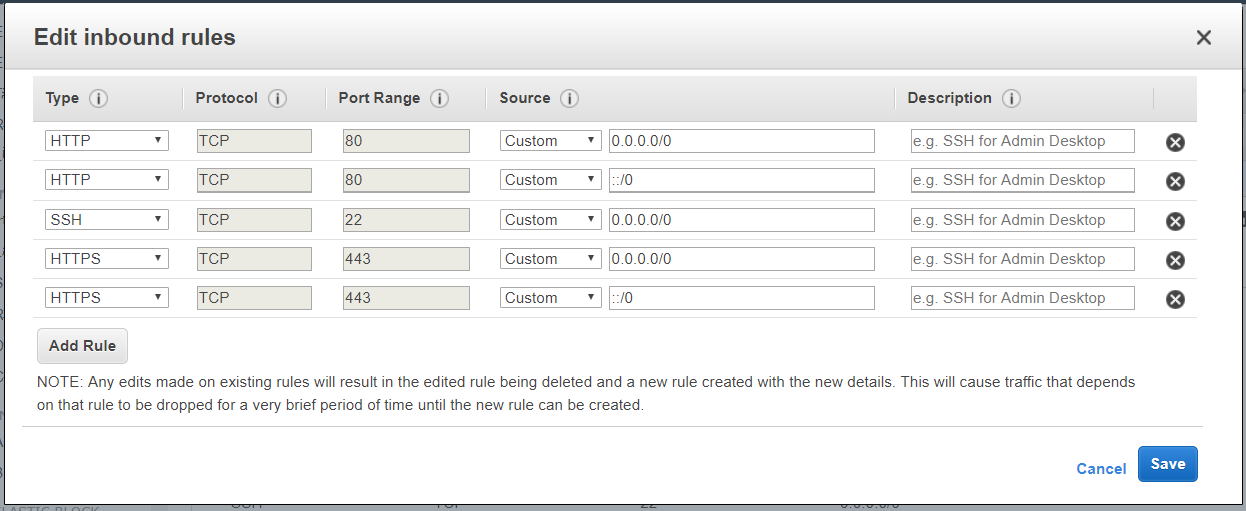
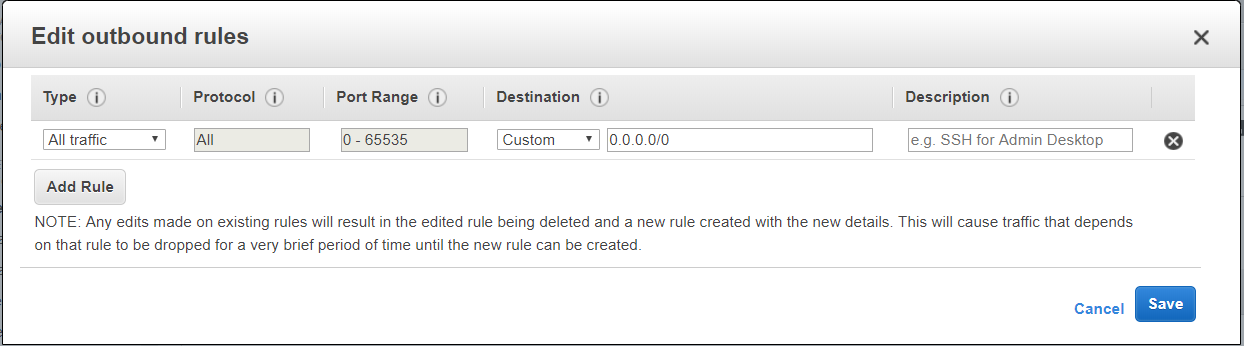
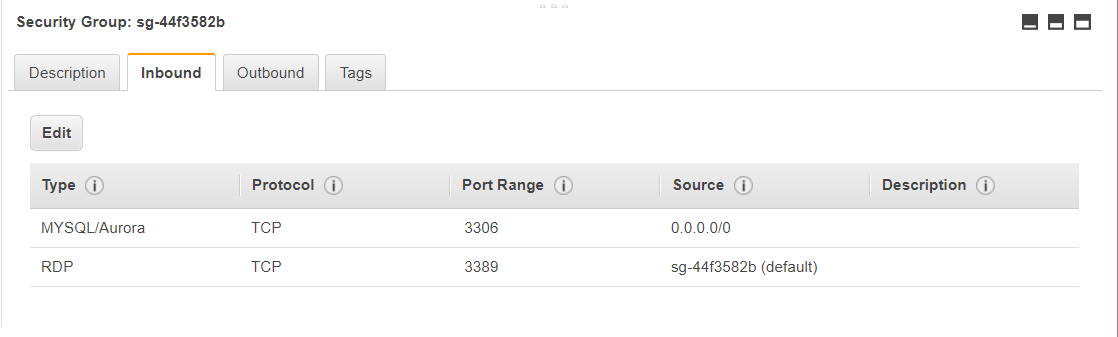
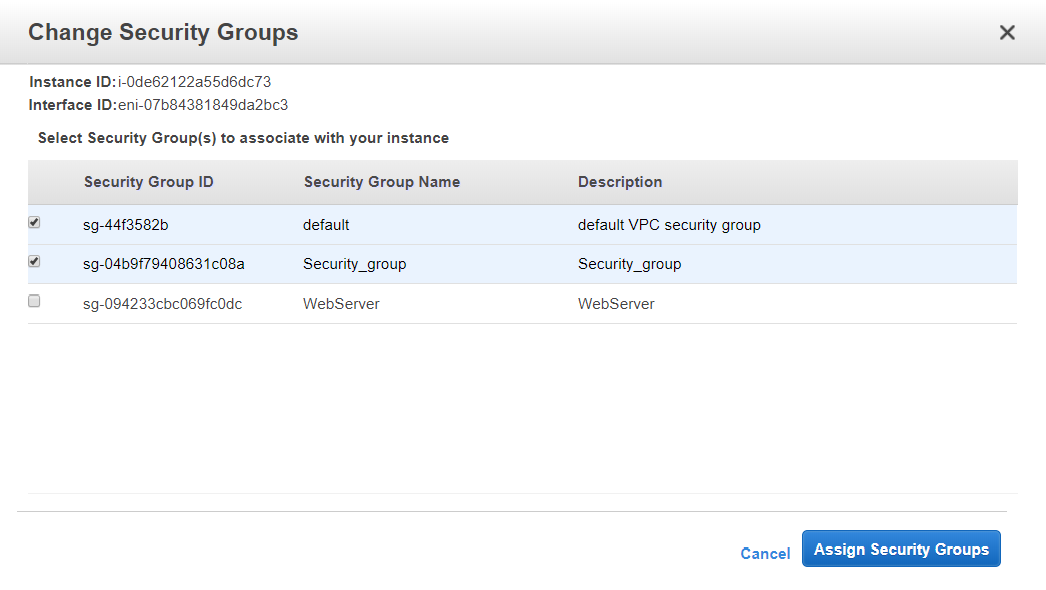
- Configure Security group.
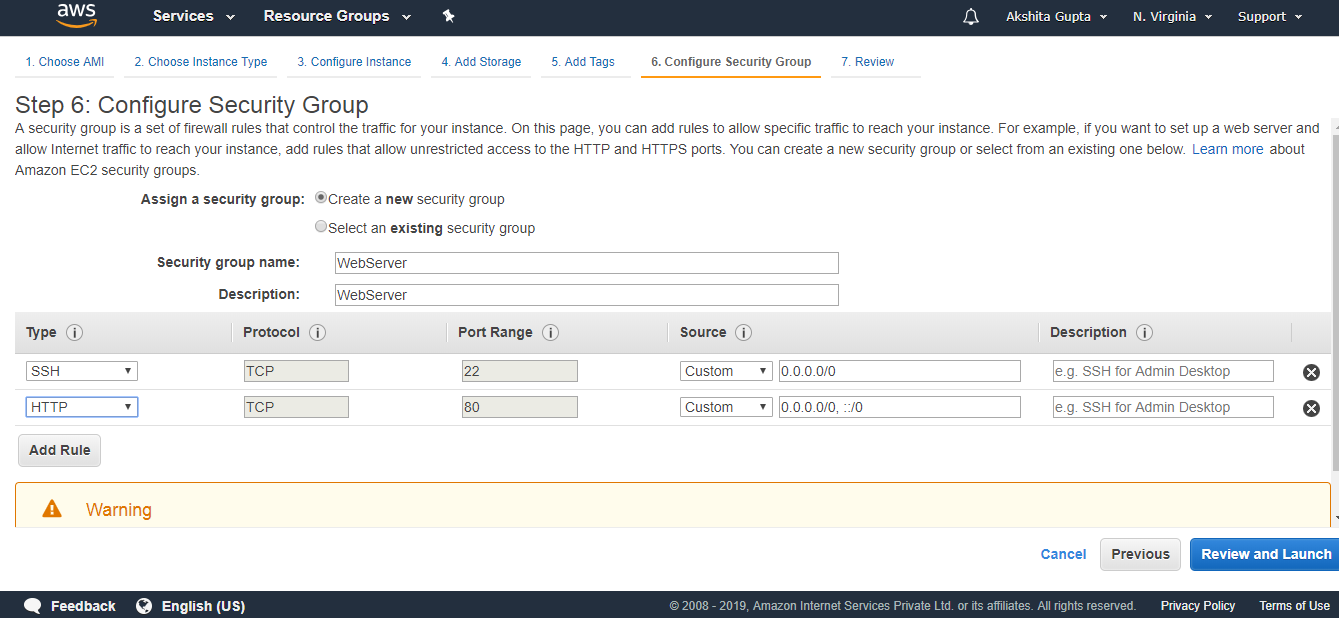
The above screen shows that we created a new security group whose name is WebServer.
- Review and Launch.
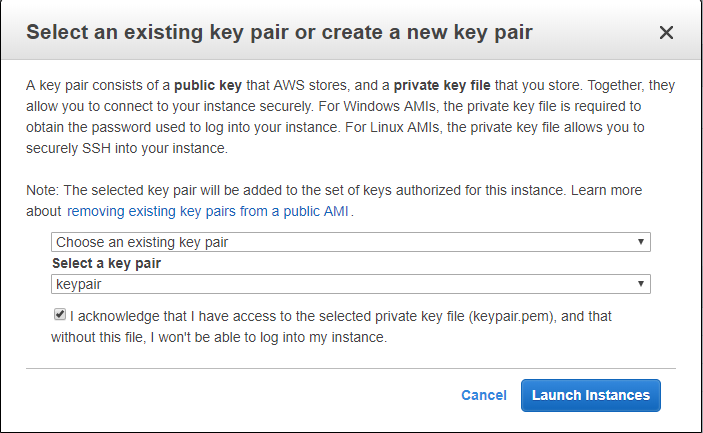
- Select an existing key pair or create a new key pair. I contain a key pair.
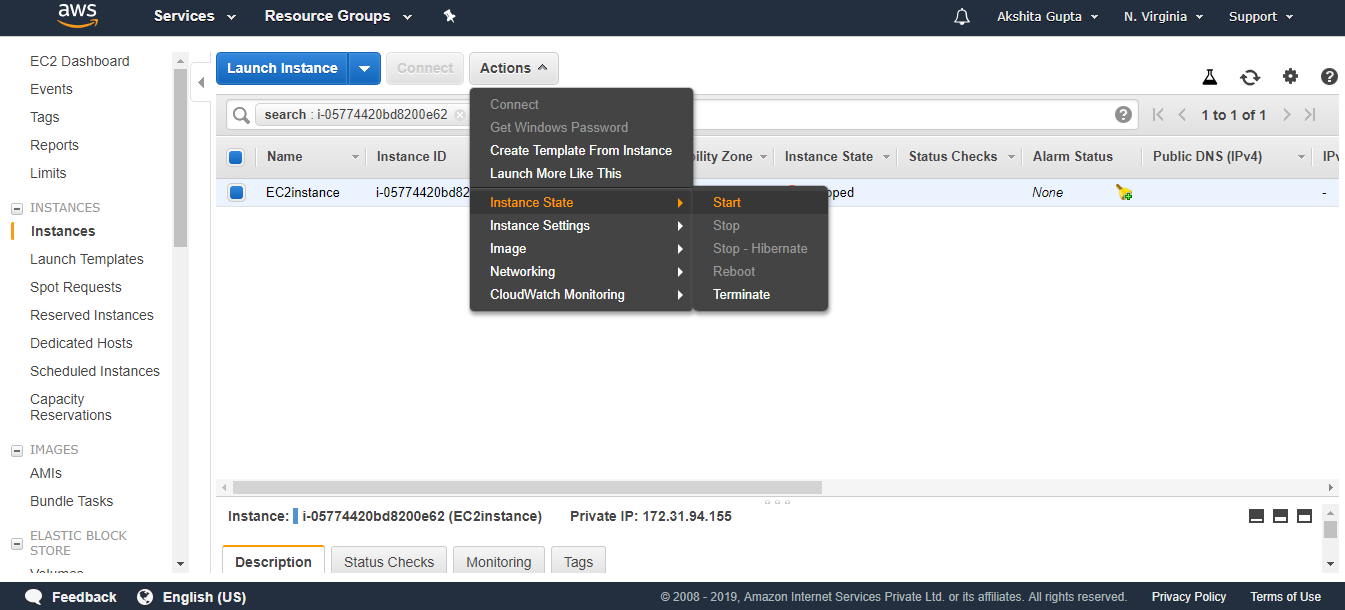
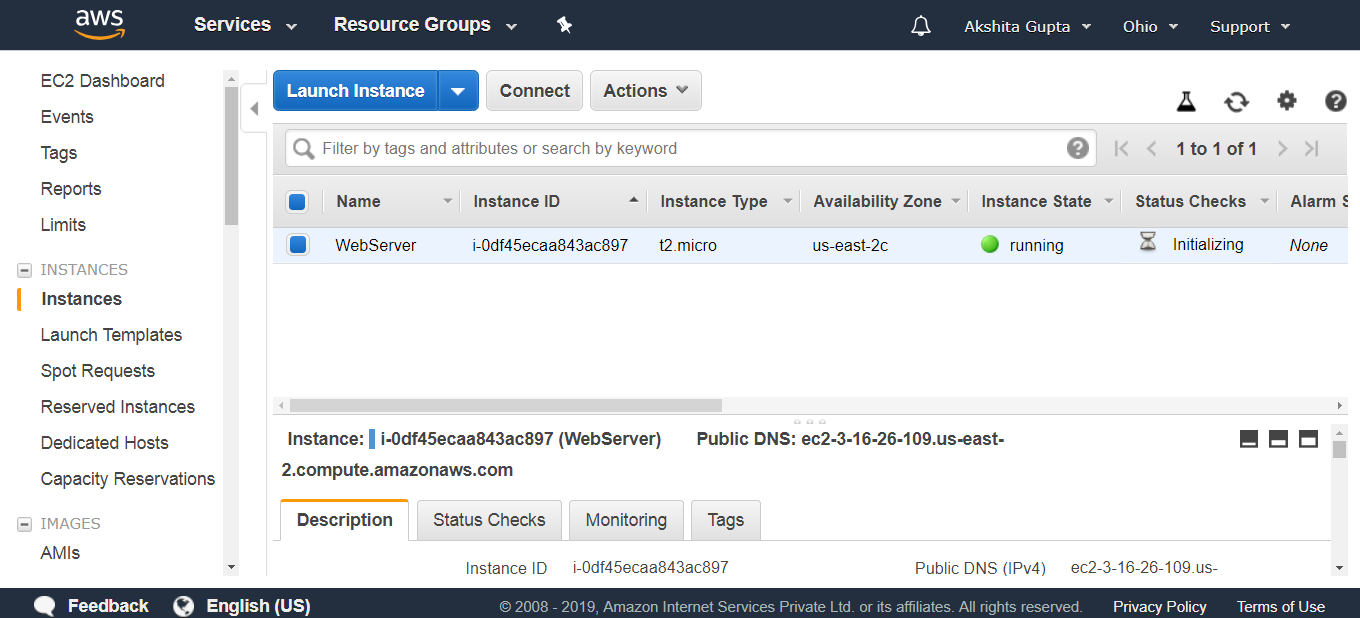
- Finally, my EC2Instance has been created.
- Open the Putty.
- Enter your Host Name such as ec2-user@3.93.219.168.
- Click on the auth in SSH appearing on the left side of the putty, attach the key pair.ppk file to it.
- Run the command sudo du to reach the root level.
- Run the command yum update -y to update an EC2 instance.
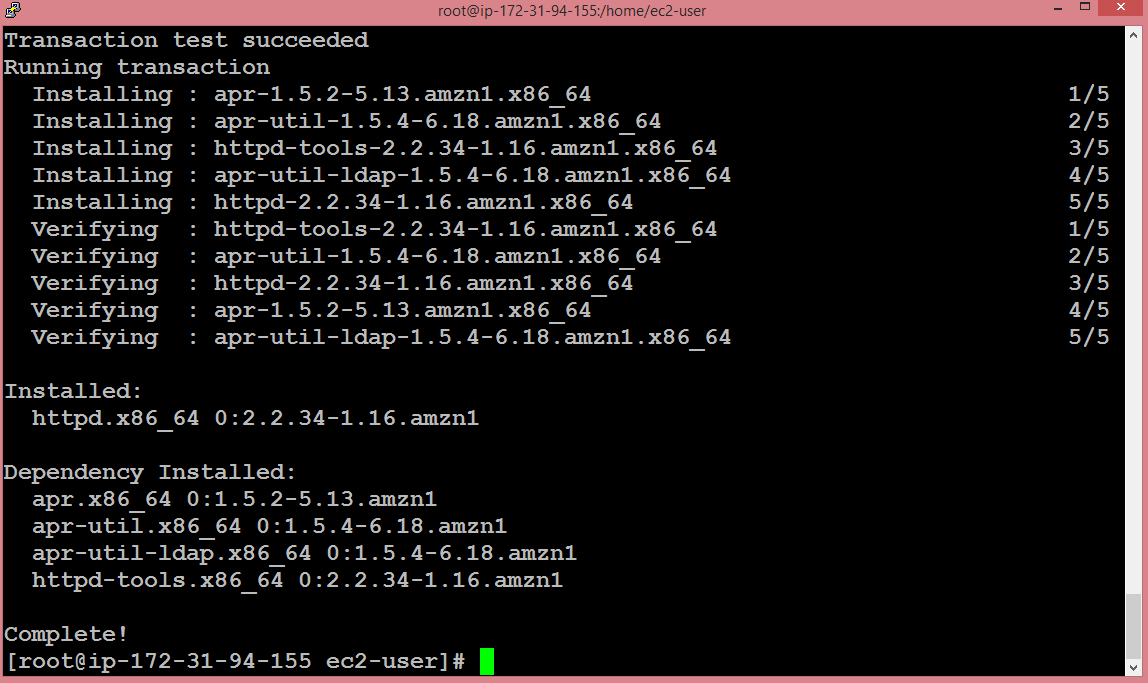
- Run the command yum install httpd -y to install an Apache server.
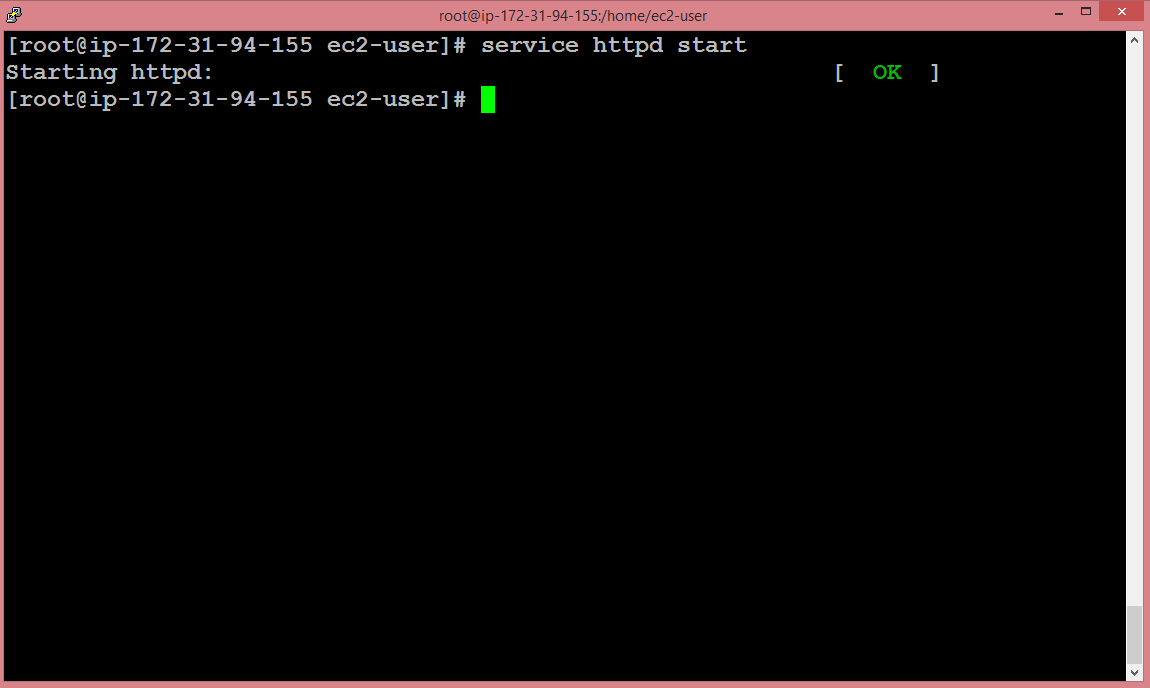
- Start the server by running the command service httpd start.
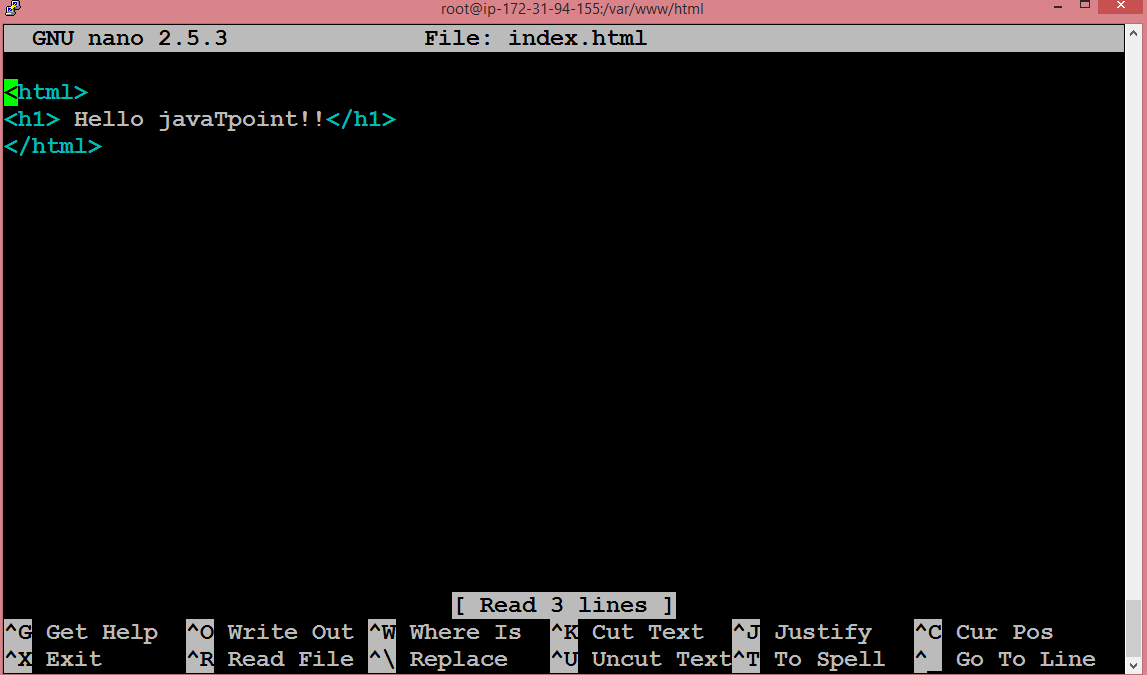
- Move to the directory cd /var/www/html.
- Copy all the commands that we saw till now to the Notepad file.
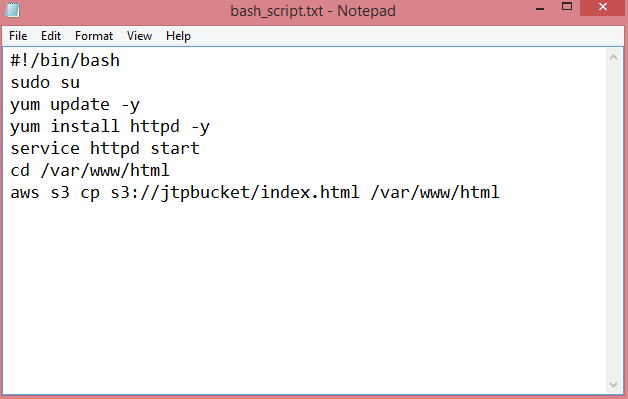
The above screen shows the bash script.
Step 5: Test the Bash Script
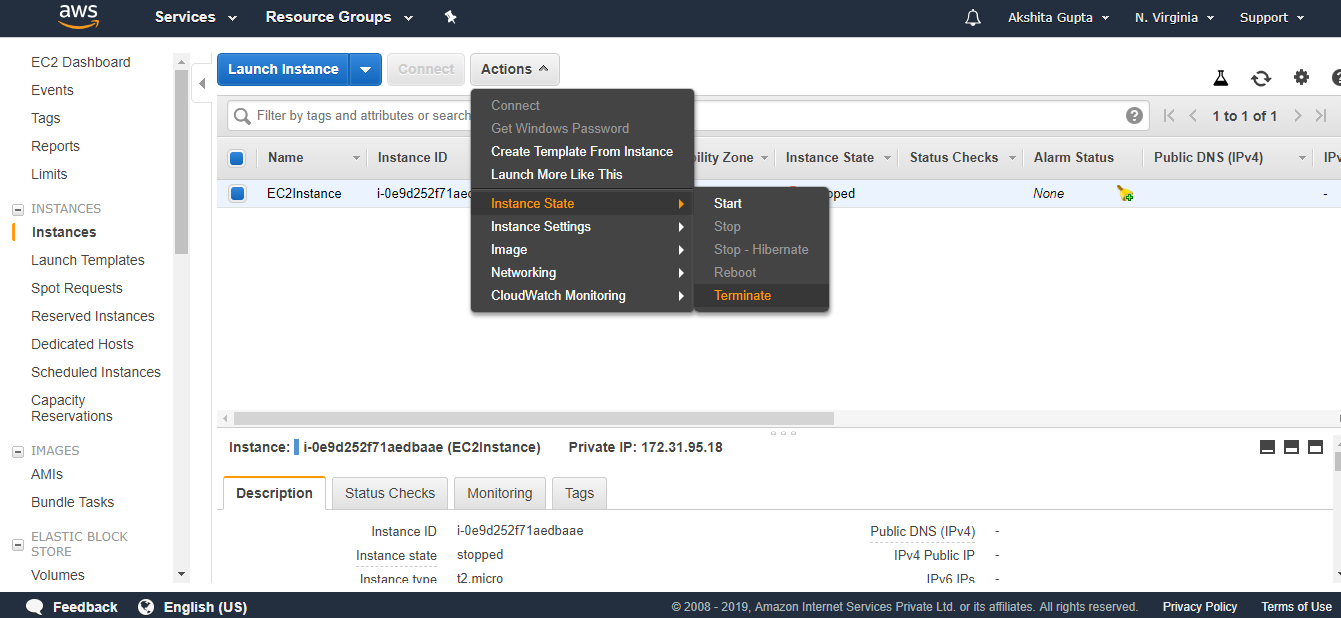
- First, we delete the instance that we created.
- Now we create a new instance.
- Launch an instance.
- Choose an Amazon Machine Language (AMI). I choose the Amazon Linux AMI 2018.03.0 (HVM).
- Choose an Instance type. I choose a t2.micro type.
- Configure Instance details. Set IAM Role as S3AdminAccess and paste the bash script in Advanced details.
- (Optional) Add storage.
- Add tags.
- Configure Security Group. I select a default group.
- Review instance launch.
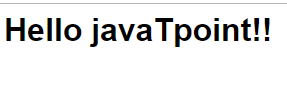
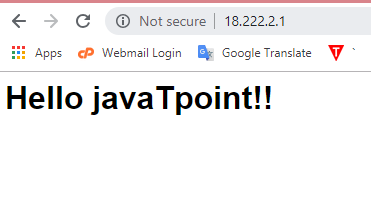
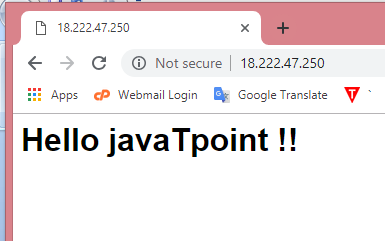
- After launching an instance, paste the public IP address to a clipboard of the web browser. You will see the output shown below:
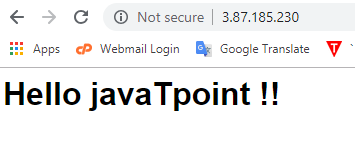
We conclude that copying the data from S3 to EC2 becomes easier by using Bash scripts.