Creating an S3 Bucket
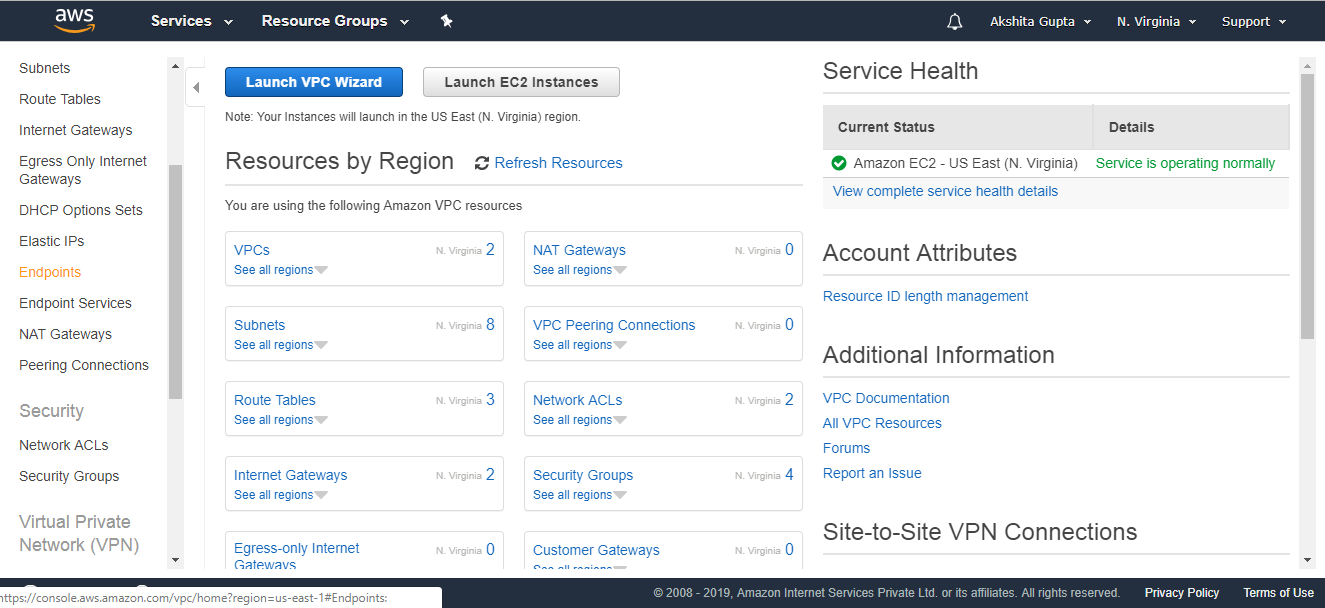
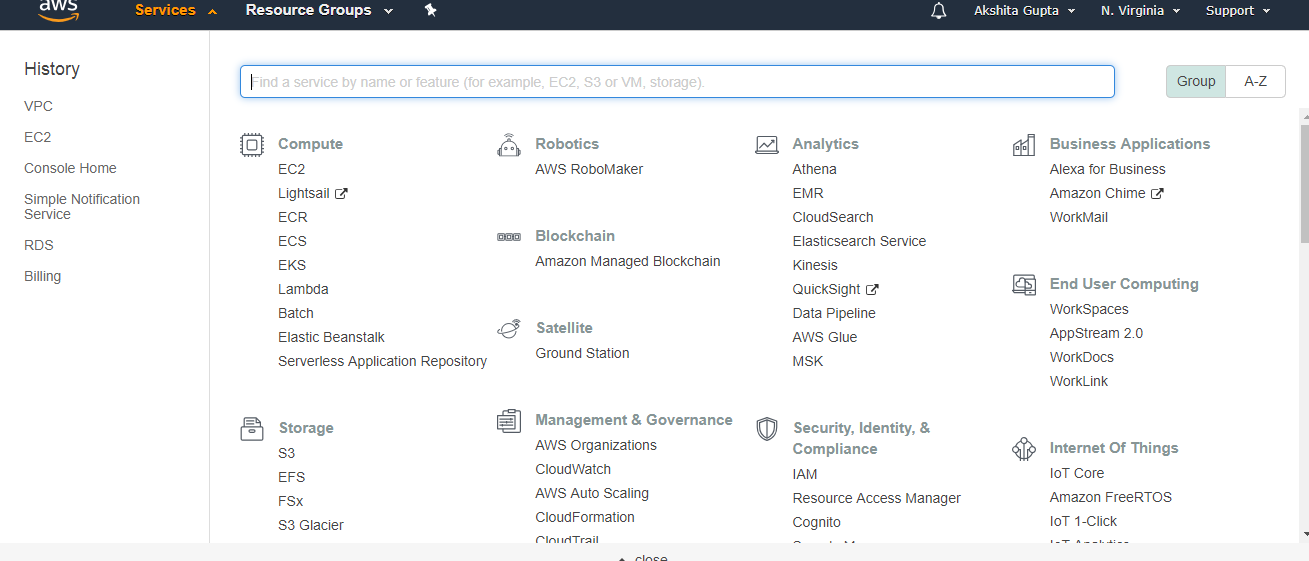
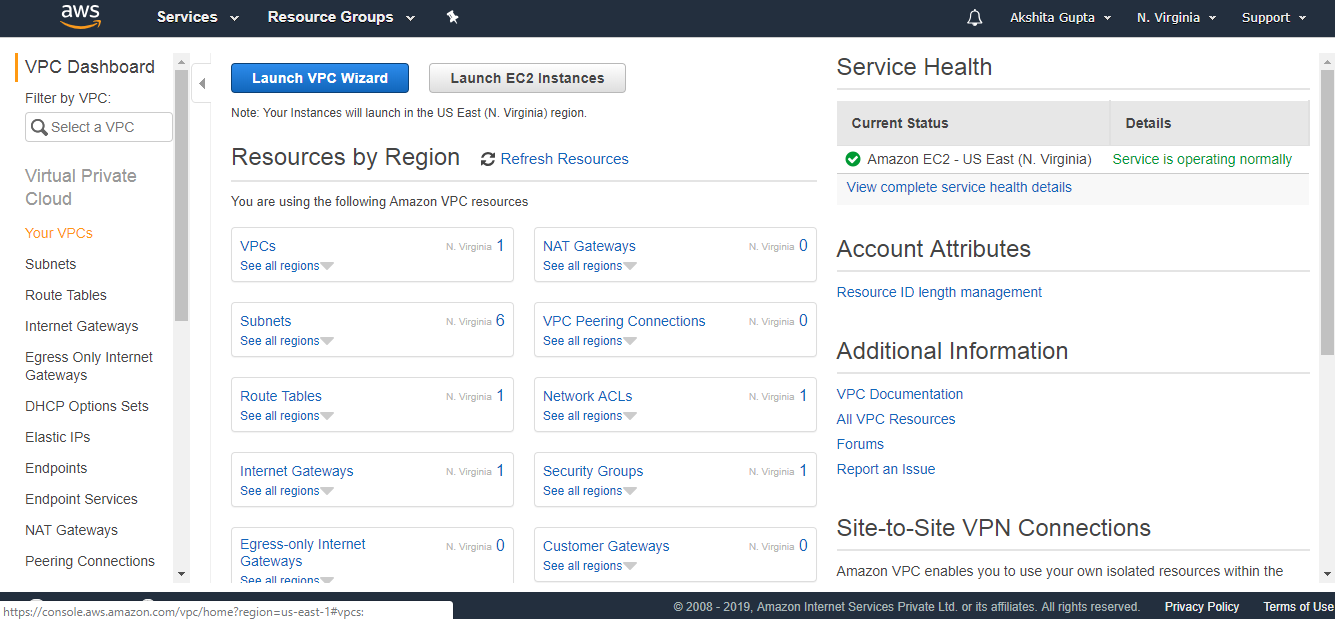
- Sign in to the AWS Management console. After sign in, the screen appears is shown below:
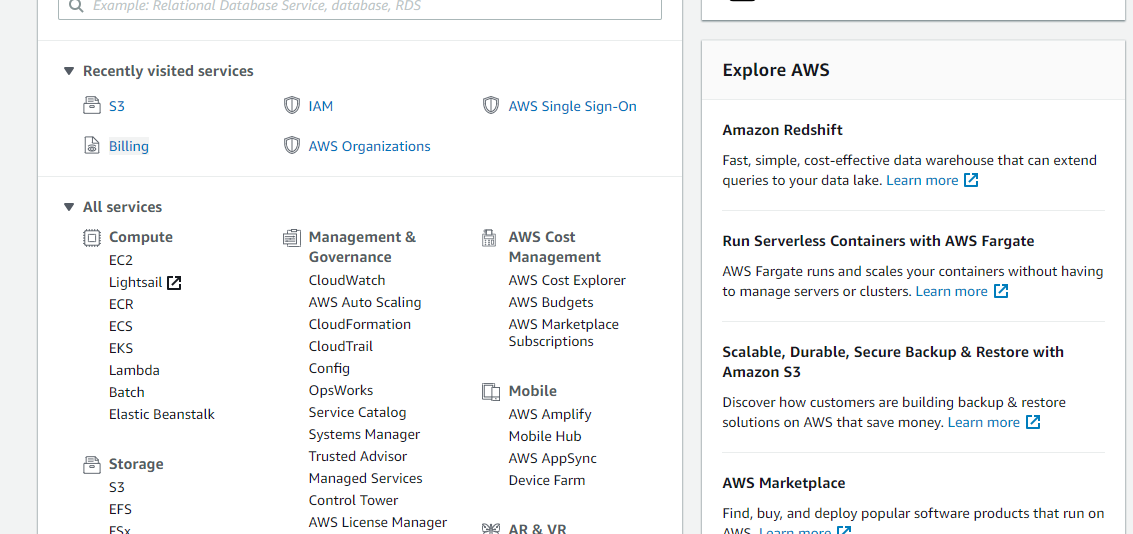
- Move to the S3 services. After clicking on S3, the screen appears is shown below:
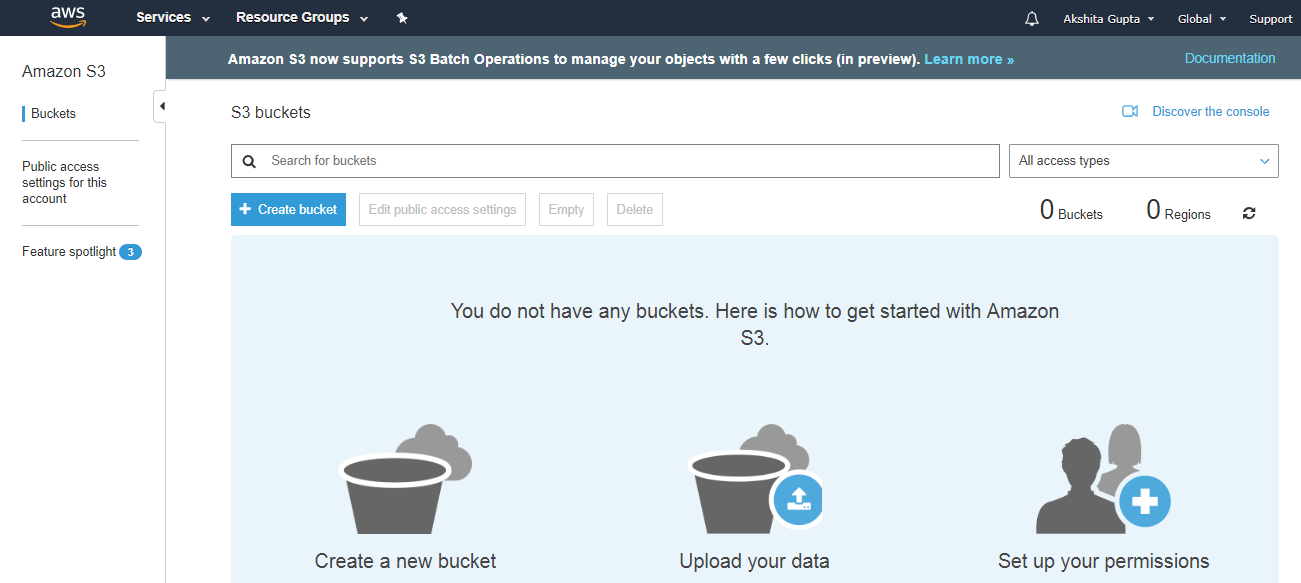
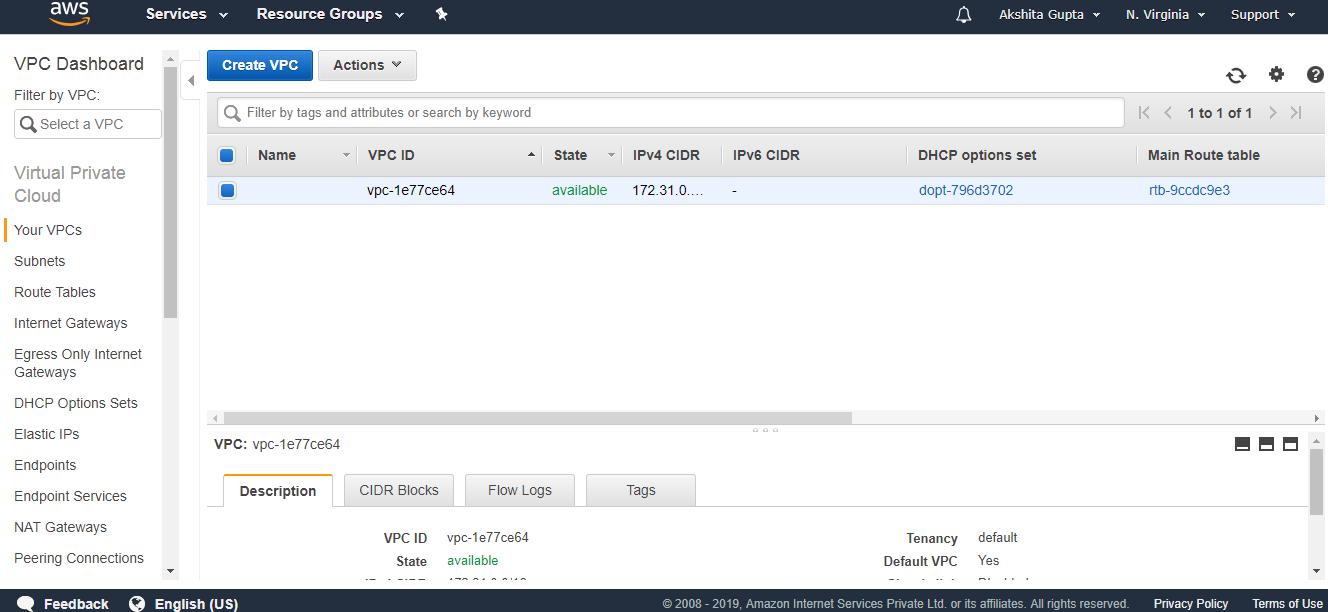
- To create an S3 bucket, click on the “Create bucket”. On clicking the “Create bucket” button, the screen appears is shown below:
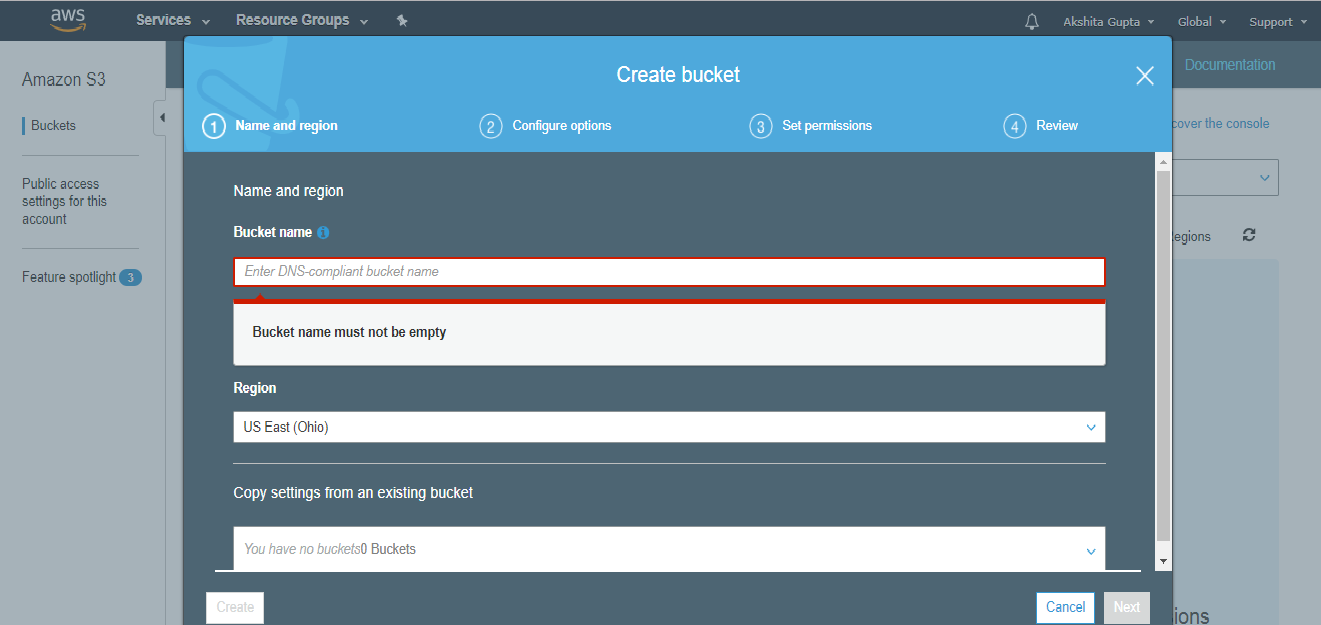
- Enter the bucket name which should look like DNS address, and it should be resolvable. A bucket is like a folder that stores the objects. A bucket name should be unique. A bucket name should start with the lowercase letter, must not contain any invalid characters. It should be 3 to 63 characters long.
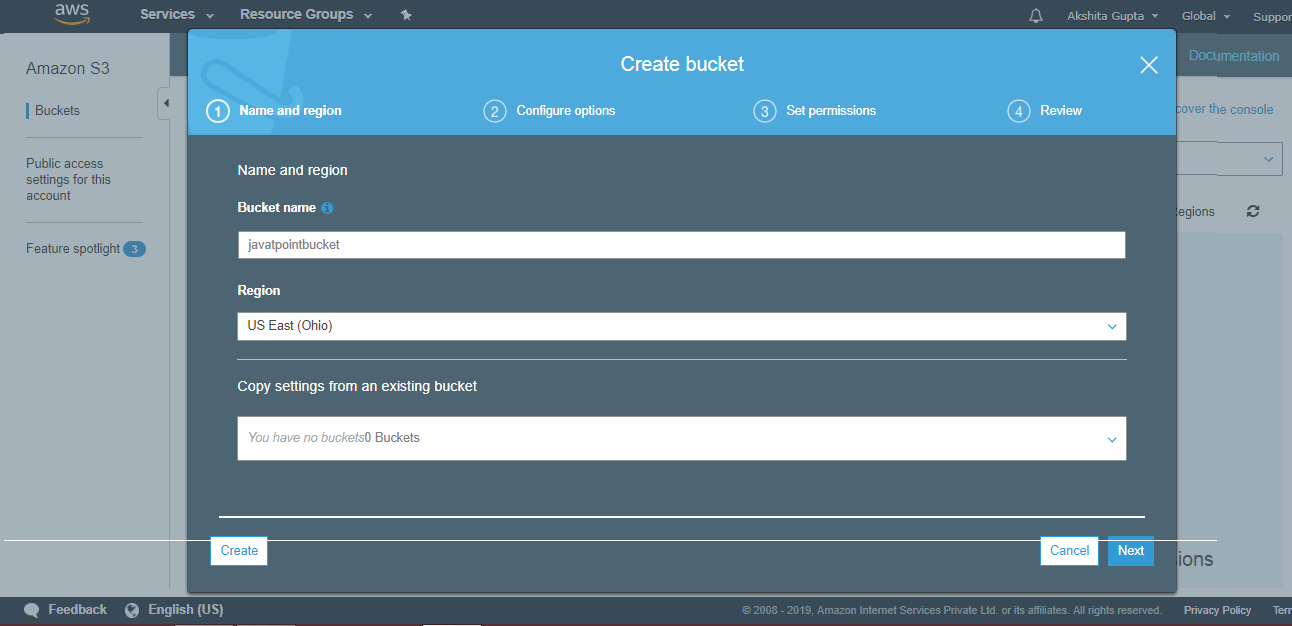
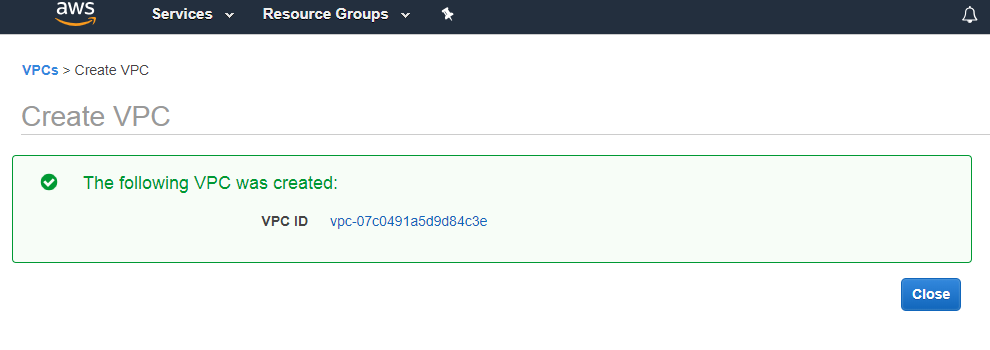
- Click on the “Create” button. Now, the bucket is created.
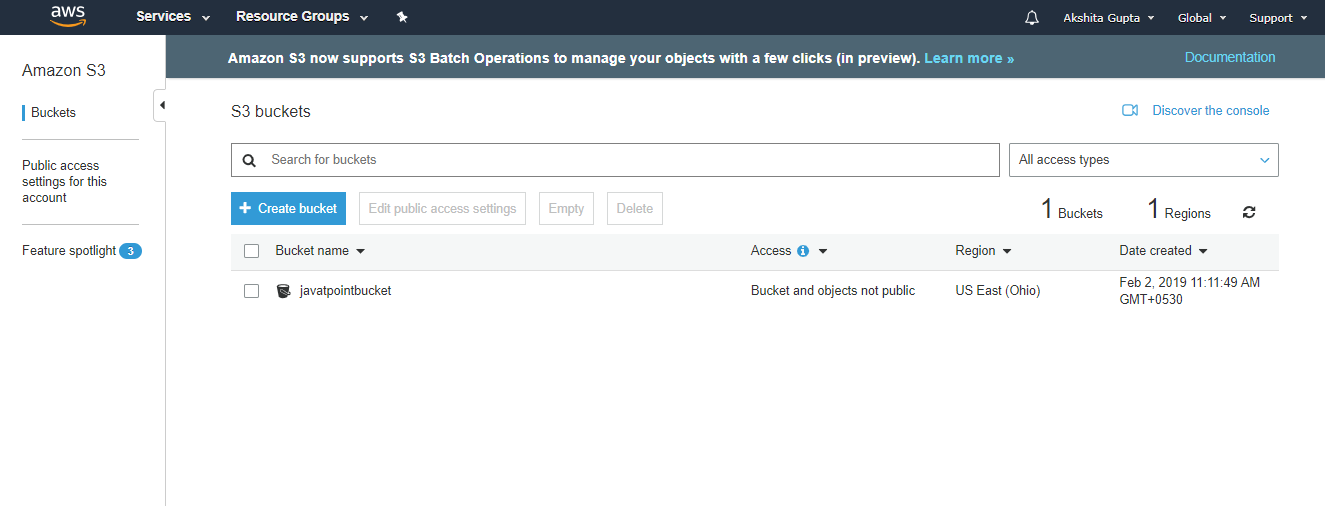
We have seen from the above screen that bucket and its objects are not public as by default, all the objects are private.
- Now, click on the “javatpointbucket” to upload a file in this bucket. On clicking, the screen appears is shown below:
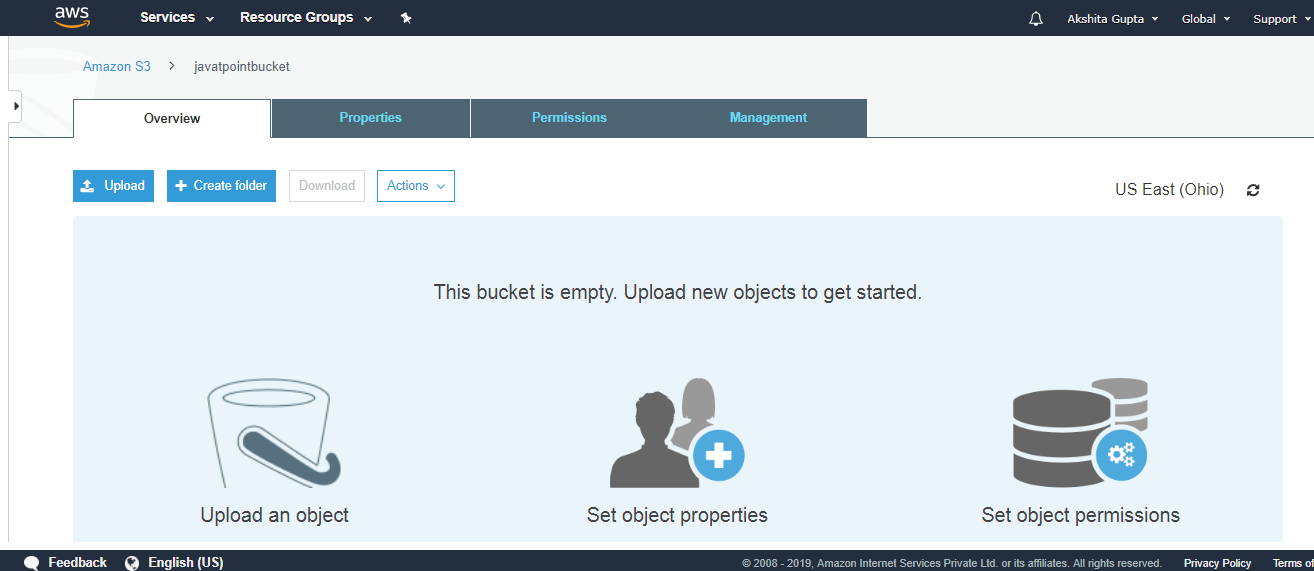
- Click on the “Upload” button to add the files to your bucket.
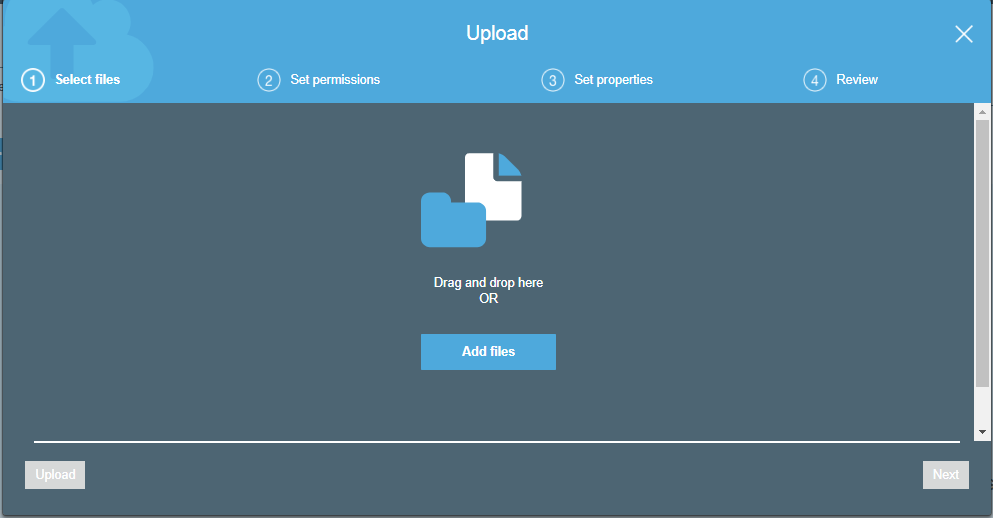
- Click on the “Add files” button.
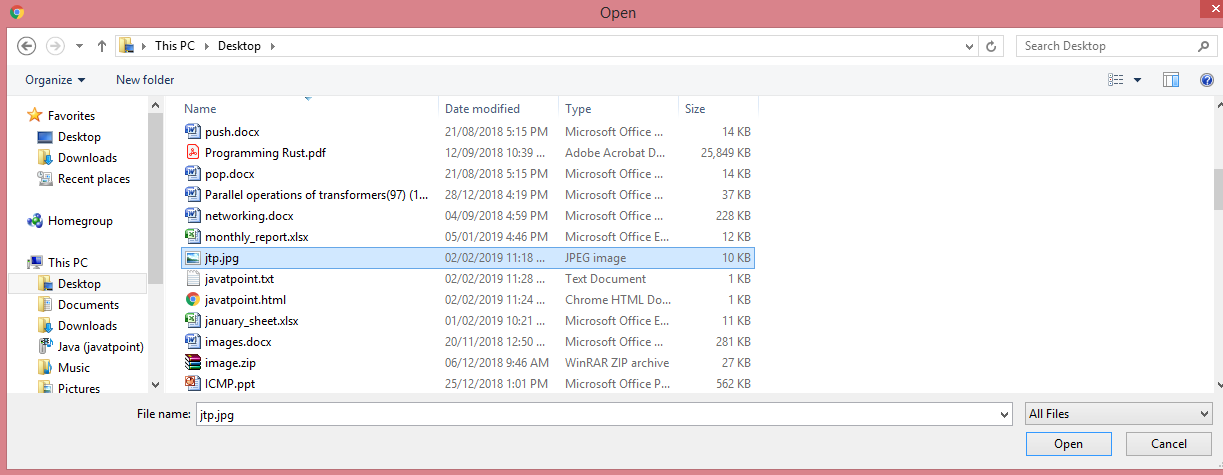
- Add the jtp.jpg file.
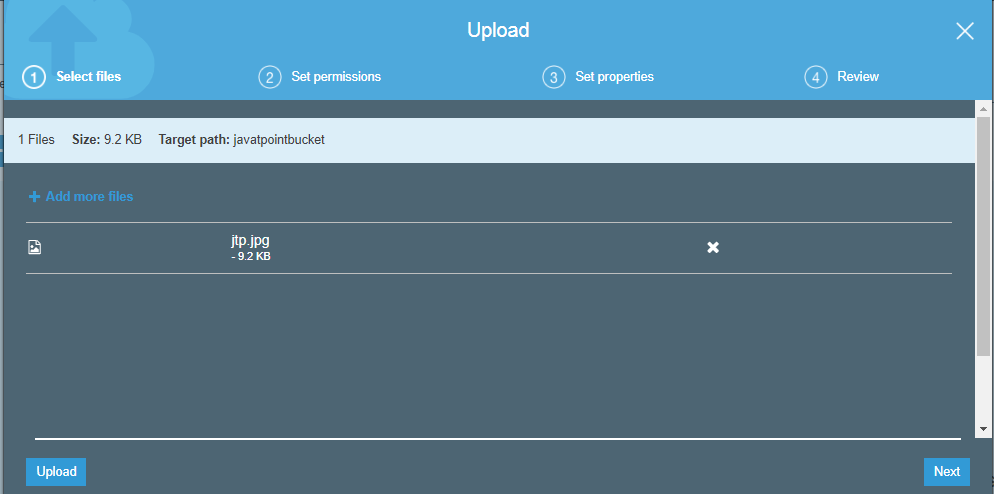
- Click on the “upload” button.
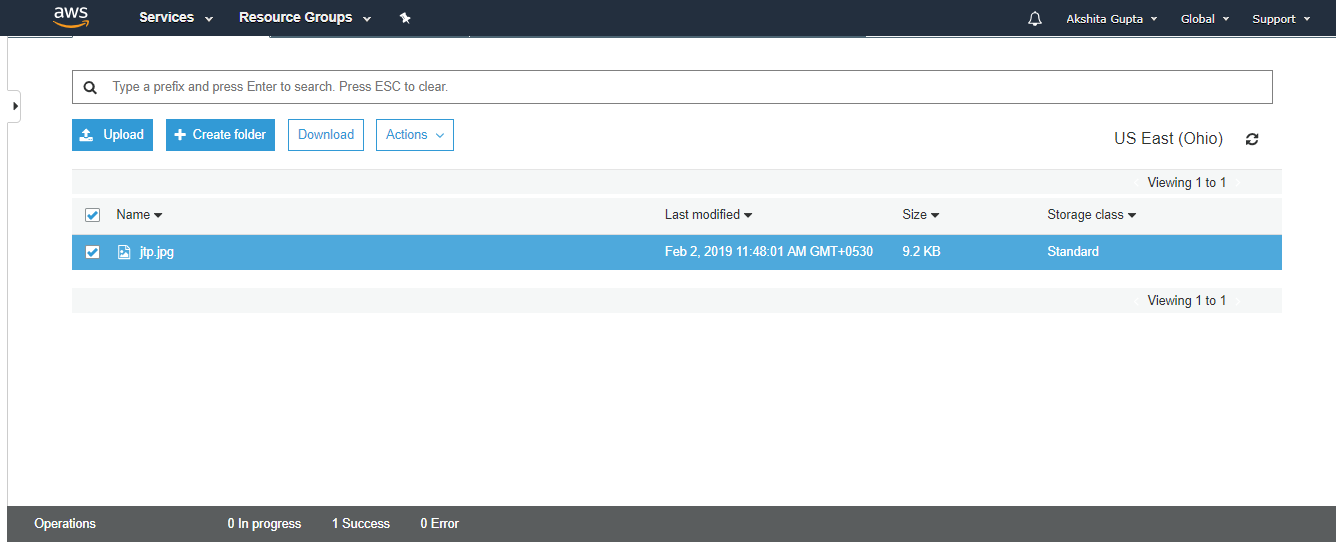
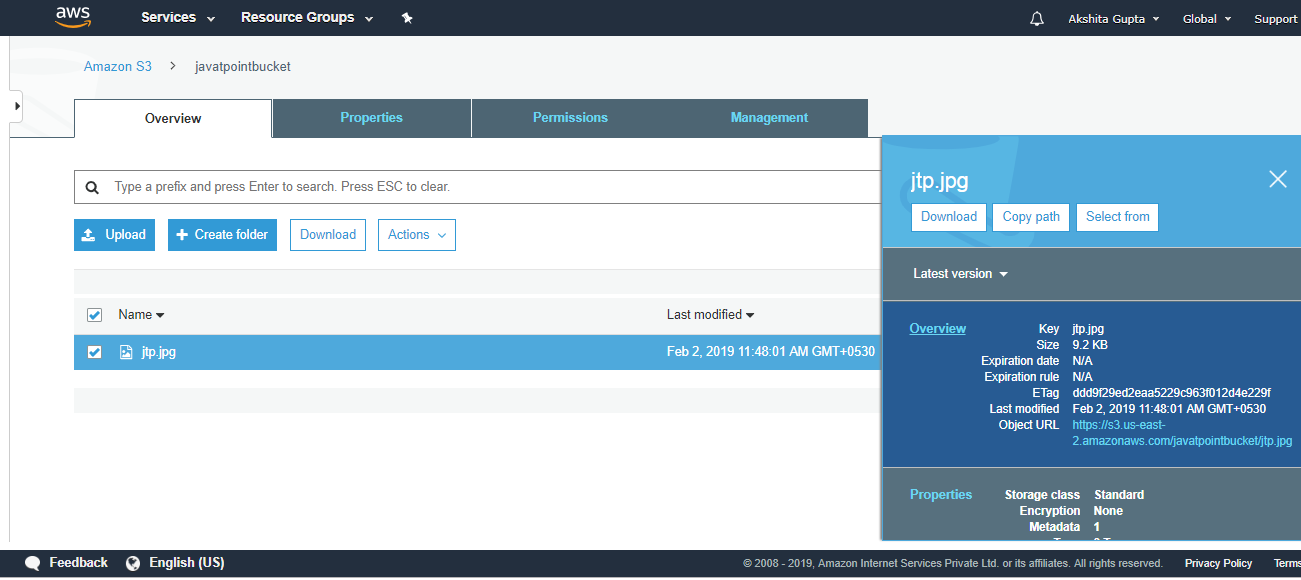
From the above screen, we observe that the “jtp.jpg” has been successfully uploaded to the bucket “javatpoint”.
- Move to the properties of the object “jtp.jpg” and click on the object URL to run the file appearing on the right side of the screen
- On clicking the object URL, the screen appears is shown below:
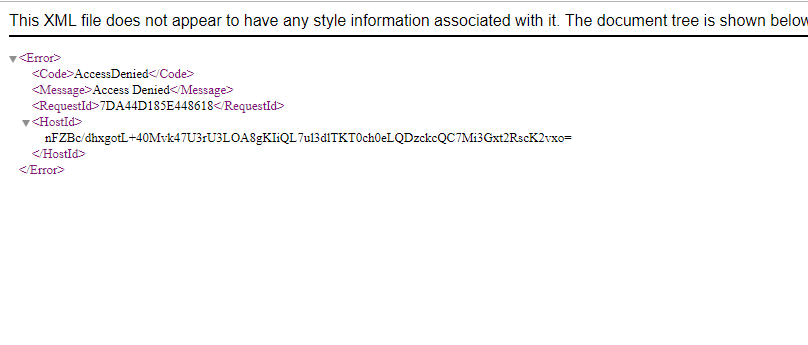
From the above screen, we observe that we are not allowed to access the objects of the bucket.
- To overcome from the above problems, we need to set the permissions of a bucket, i.e., “javatpointbucket” and unchecked all of them.
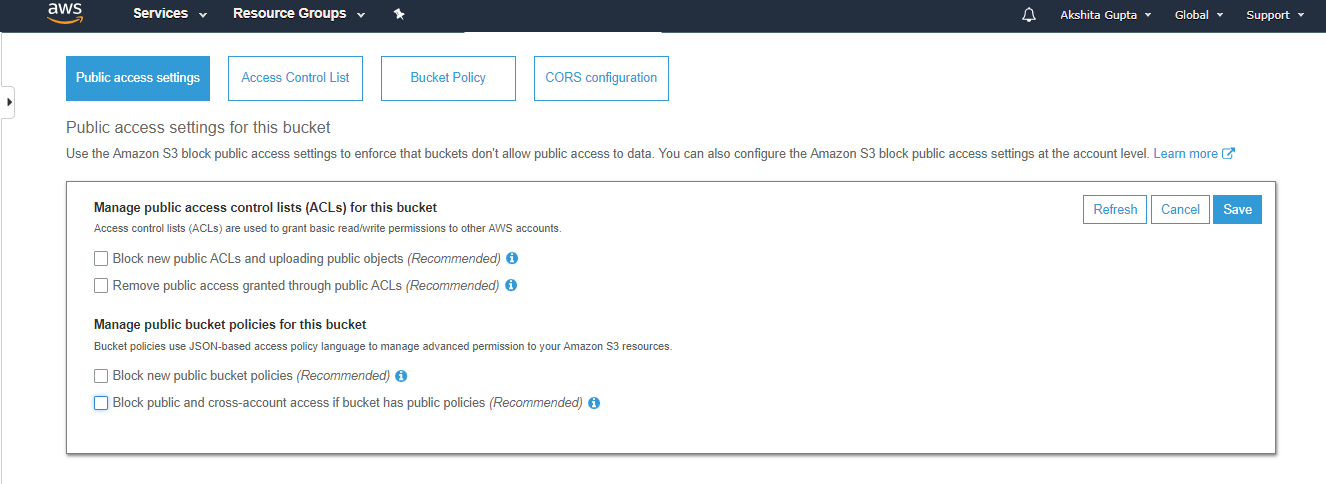
- Save these permissions.
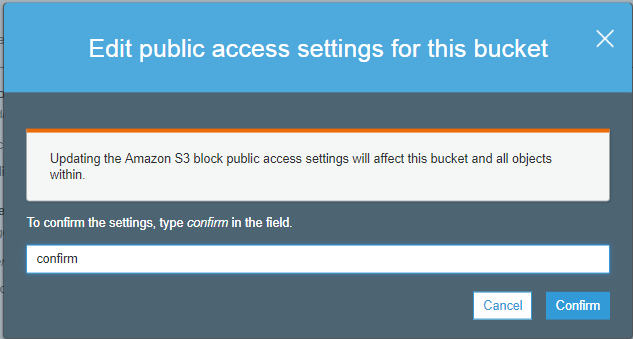
- Enter “confirm” in a textbox, then click on the “confirm” button.
- Click on the “Actions” dropdown and then click on the “Make public”.
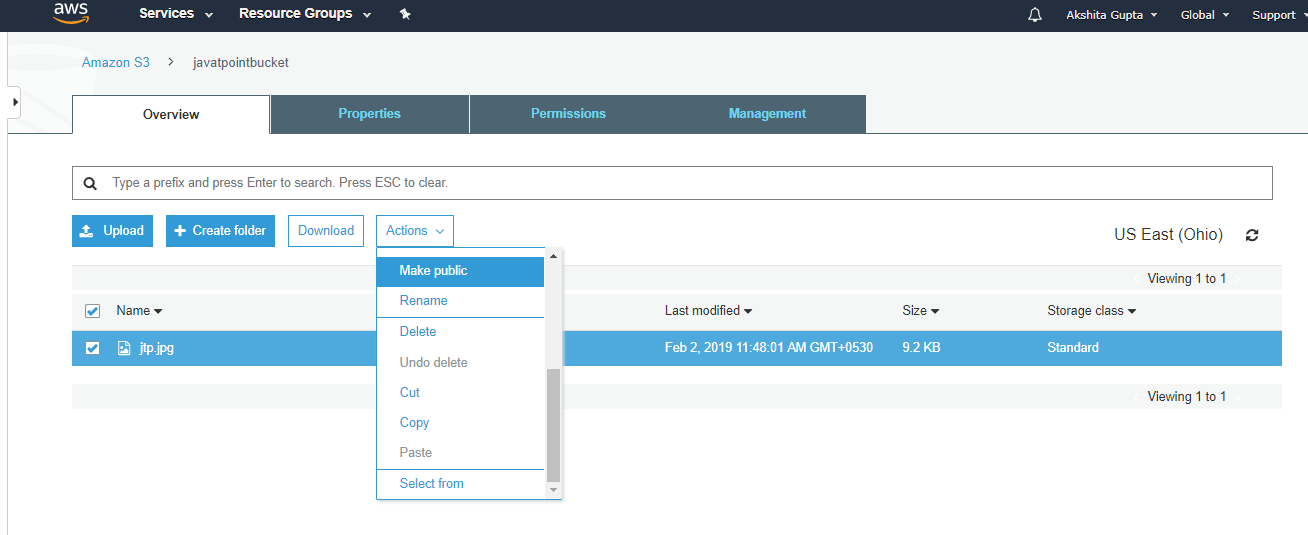
- Now, click on the Object URL of an object to run the file.
Important points to remember
- Buckets are a universal namespace, i.e., the bucket names must be unique.
- If uploading of an object to S3 bucket is successful, we receive a HTTP 200 code.
- S3, S3-IA, S3 Reduced Redundancy Storage are the storage classes.
- Encryption is of two types, i.e., Client Side Encryption and Server Side Encryption
- Access to the buckets can be controlled by using either ACL (Access Control List) or bucket policies.
- By default buckets are private and all the objects stored in a bucket are also private.

 Concept of AWS Data Pipeline
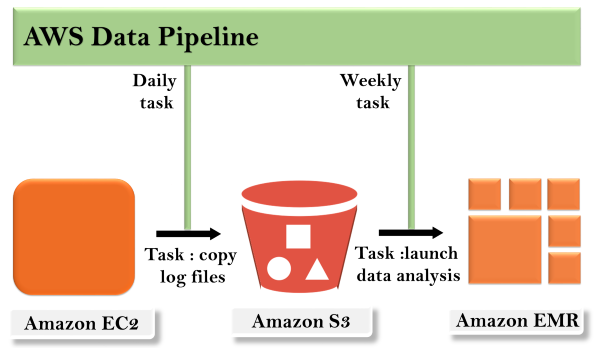
 The concept of the AWS Data Pipeline is very simple. We have a Data Pipeline sitting on the top. We have input stores which could be Amazon S3, Dynamo DB or Redshift. Data from these input stores are sent to the Data Pipeline. Data Pipeline analyzes, processes the data and then the results are sent to the output stores. These output stores could be an Amazon Redshift, Amazon S3 or Redshift.Advantages of AWS Data Pipeline
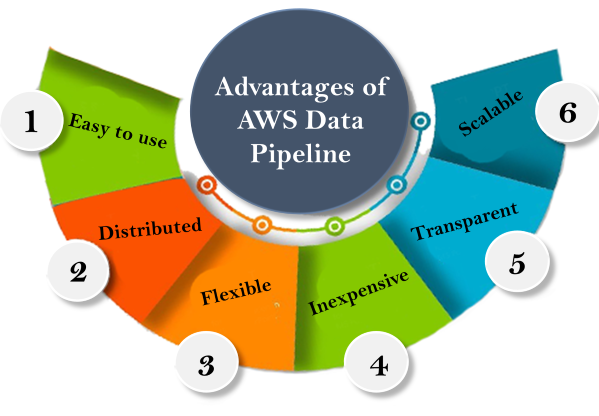 Easy to use
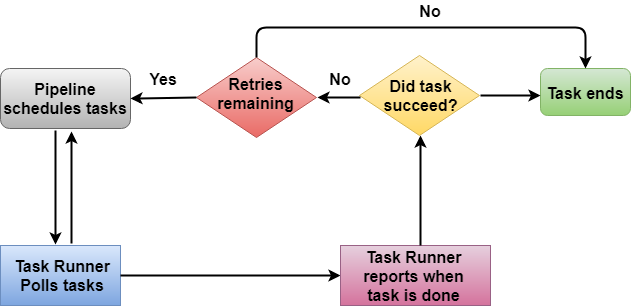 In the above architecture, Task Runner polls the tasks from the Data Pipeline. Task Runner reports its progress as soon as the task is done. After reporting, the condition is checked whether the task has been succeeded or not. If a task is succeeded, then the task ends and if no, retry attempts are checked. If retry attempts are remaining, then the whole process continues again; otherwise, the task is ended abruptly.Creating a Data PipelineSign in to the AWS Management Console.First, we will create the Dynamo DB table and two S3 buckets.Now, we will create the Dynamo DB table. Click on the create table.
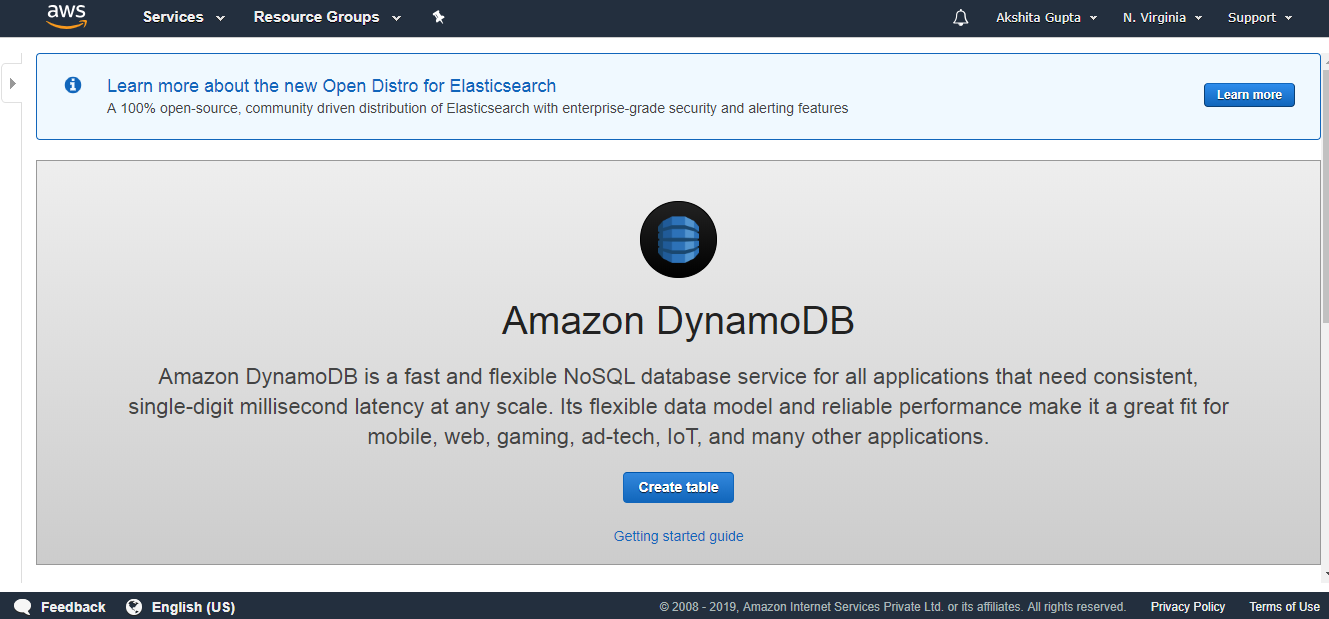 Fill the following details such as table name, Primary key to create a new table.
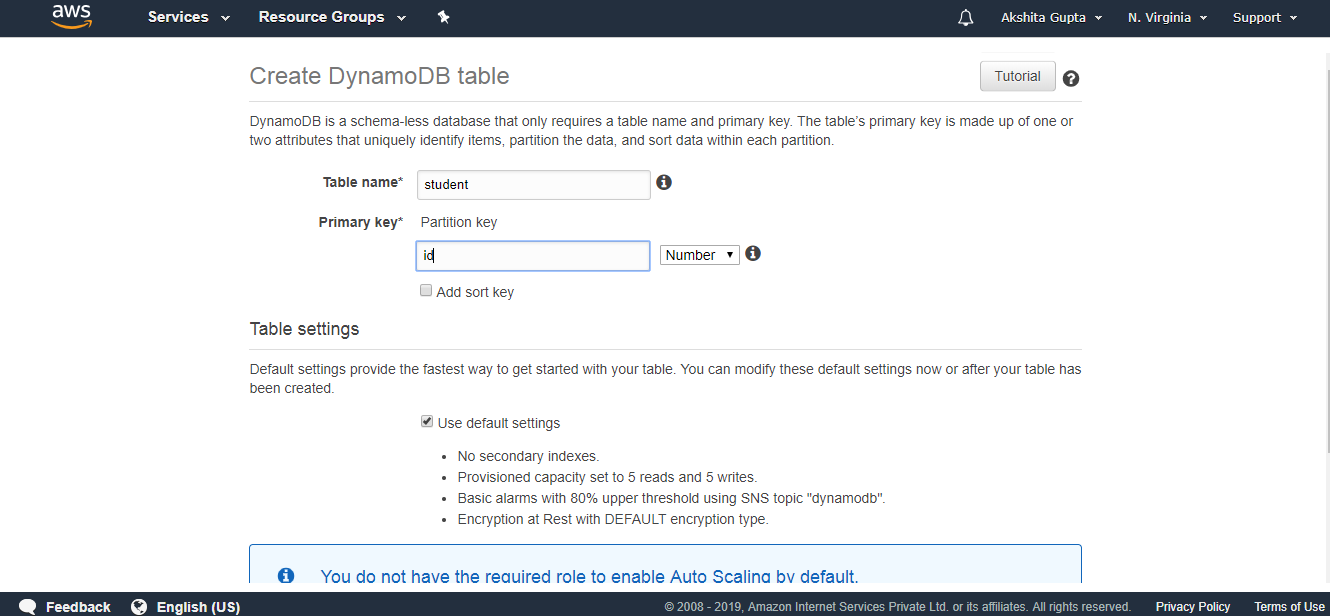 The below screen shows that the table “student” has been created.
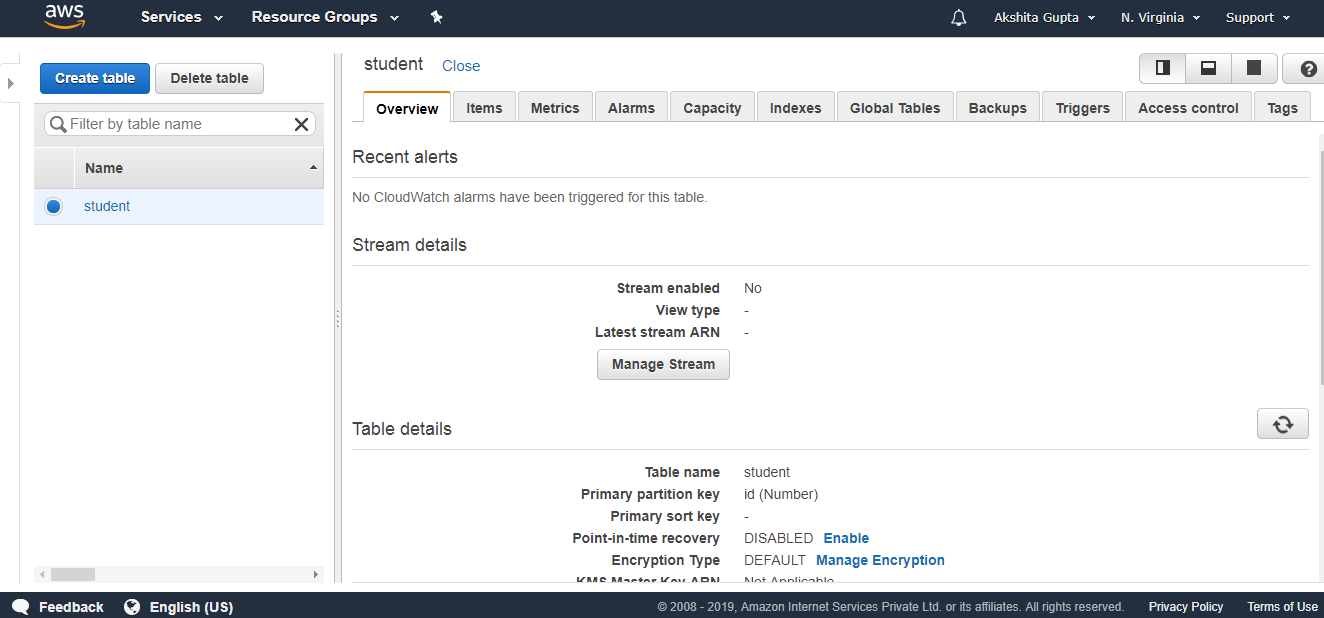 Click on the items and then click on create an item.We add three items, i.e., id, Name, and Gender.
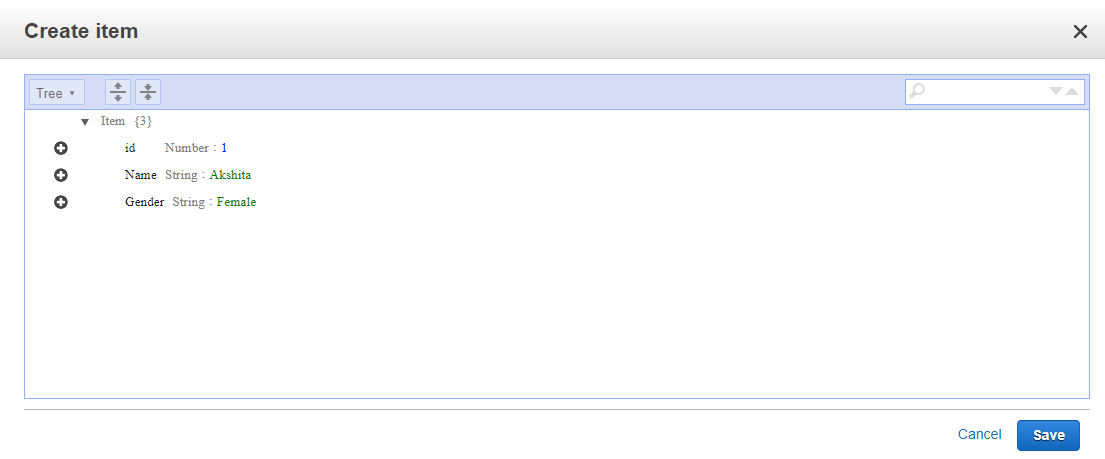 The below screen shows that data is inserted in a DynamoDB table.
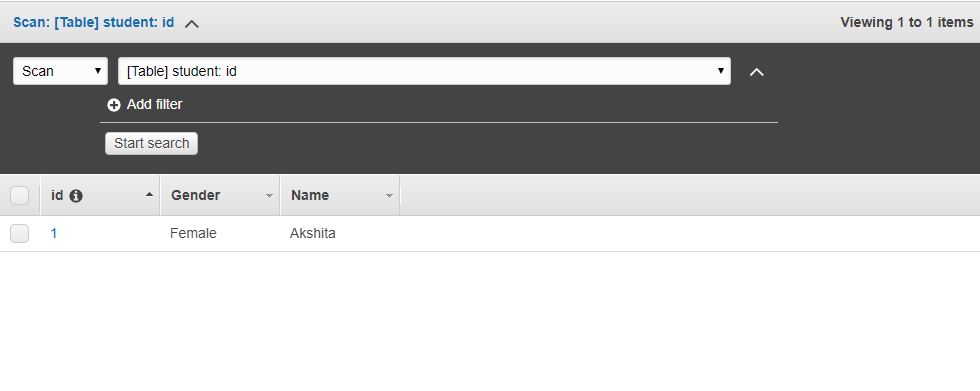 Now we create two S3 buckets. First will store the data that we are exporting from the DynamoDB and second will store the logs.
 We have created two buckets, i.e., logstoredata and studata. The logstoredata bucket stores the logs while studata bucket stores the data that we are exporting from the DynamoDB.Now we create the Data Pipeline. Move to the data Pipeline service and then click on the Get started button
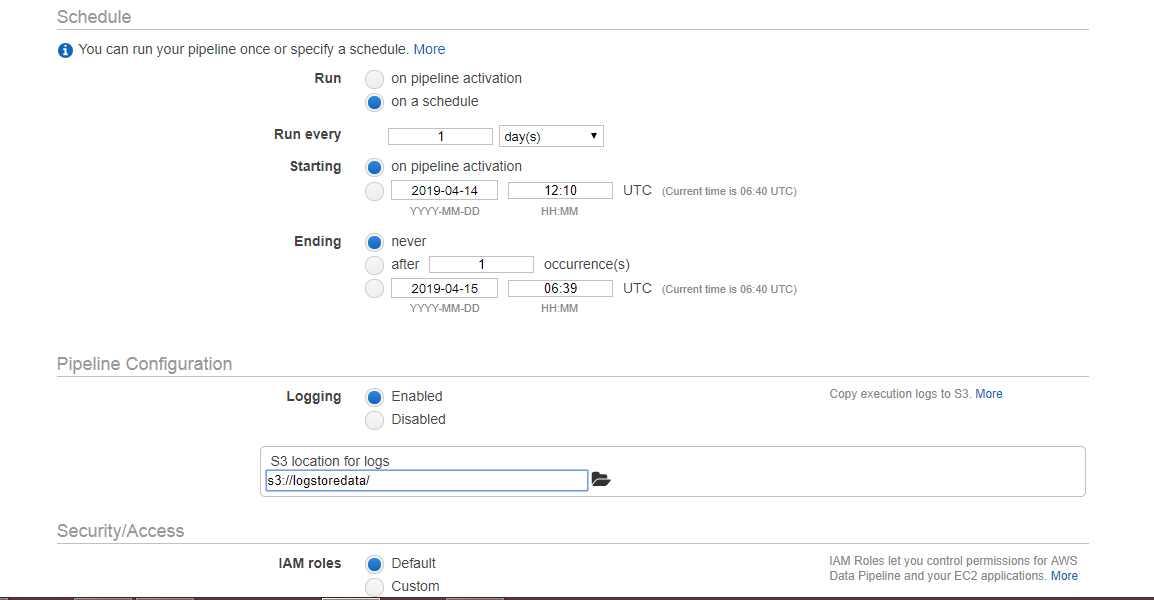
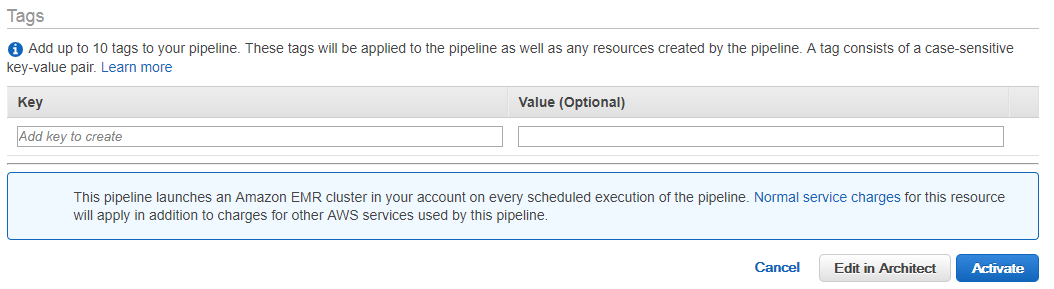
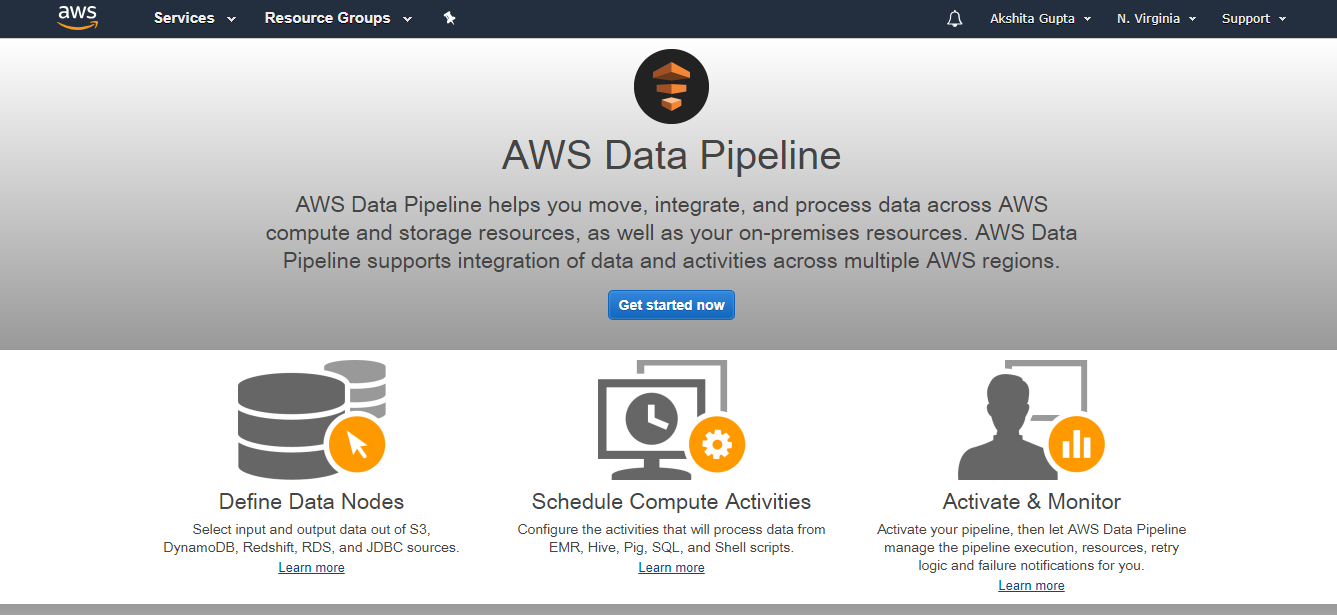 Fill the following details to create a pipeline, and then click on the Edit on Architect if you want to change any component in a pipeline.
 The below screen appears on clicking on the Edit in Architect. We can see that the warning occurs, i.e., TerminateAfter is missing. To remove this warning, you need to add the new field of TerminateAfter in Resources. After adding the field, click on the Activate Button.
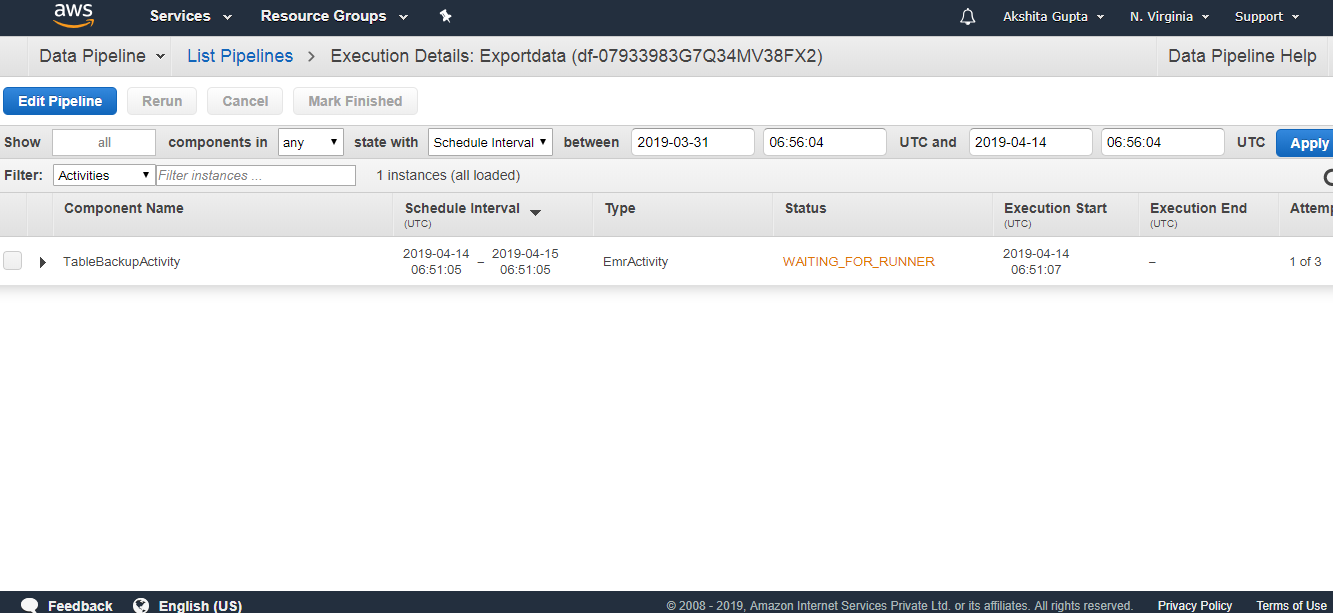
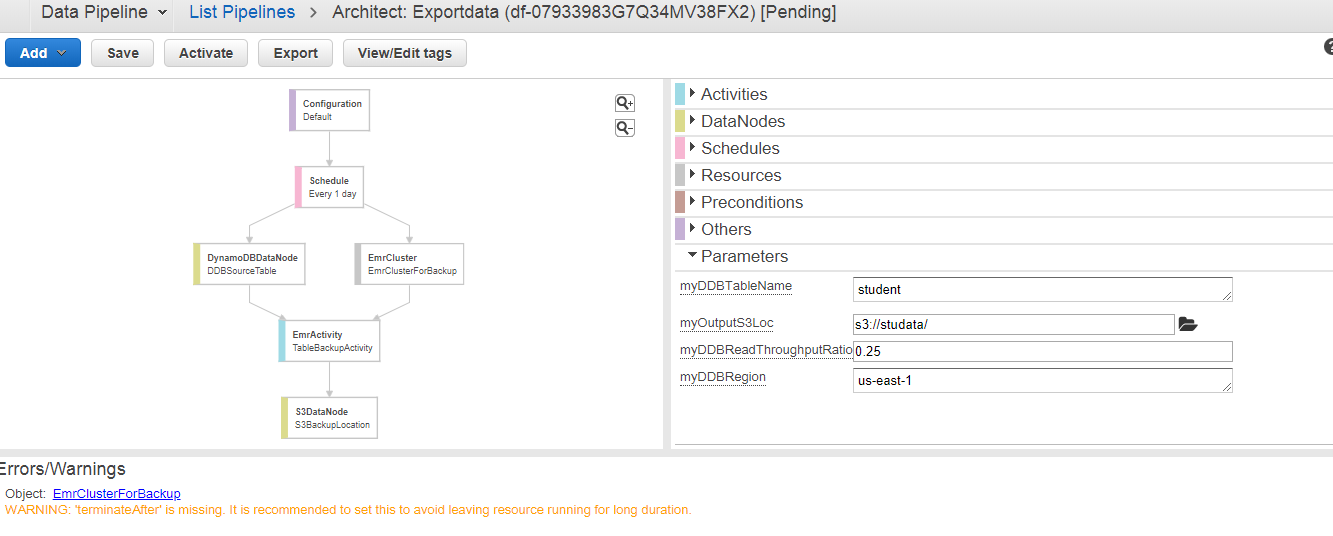 Initially, WAITING_FOR_DEPENDENCIES status appears. On refreshing, status is WAITING_FOR_RUNNER. As soon as the Running state appears, you can check your S3 bucket, the data will be stored there.